Creating a Project
Now that we have played around with the examples and have a basic understanding of how to use RIOT, let’s create a new project from scratch. We will create a simple hello world program that will print “Hello World!” to the console.
Lets start with the basic git setup, if you already have a git repository set up, you can skip to the next section.
Step 1: The Basics of Git and Submodules
Section titled “Step 1: The Basics of Git and Submodules”This tutorial assumes that you have already set up your development environment as described in the Getting Started guide.
Create a new Git Repository
We start by creating a new git repository for our project. If you have never worked with git before, you can find a good introduction here or here.
Let’s create a new directory for our project in which we will store our code. We will call this directory hello_world.
mkdir hello_world && cd hello_worldNext, we initialize a new git repository in this directory. This will allow us to track changes to our code and collaborate with others and also allows us to easily get RIOT as a submodule.
git init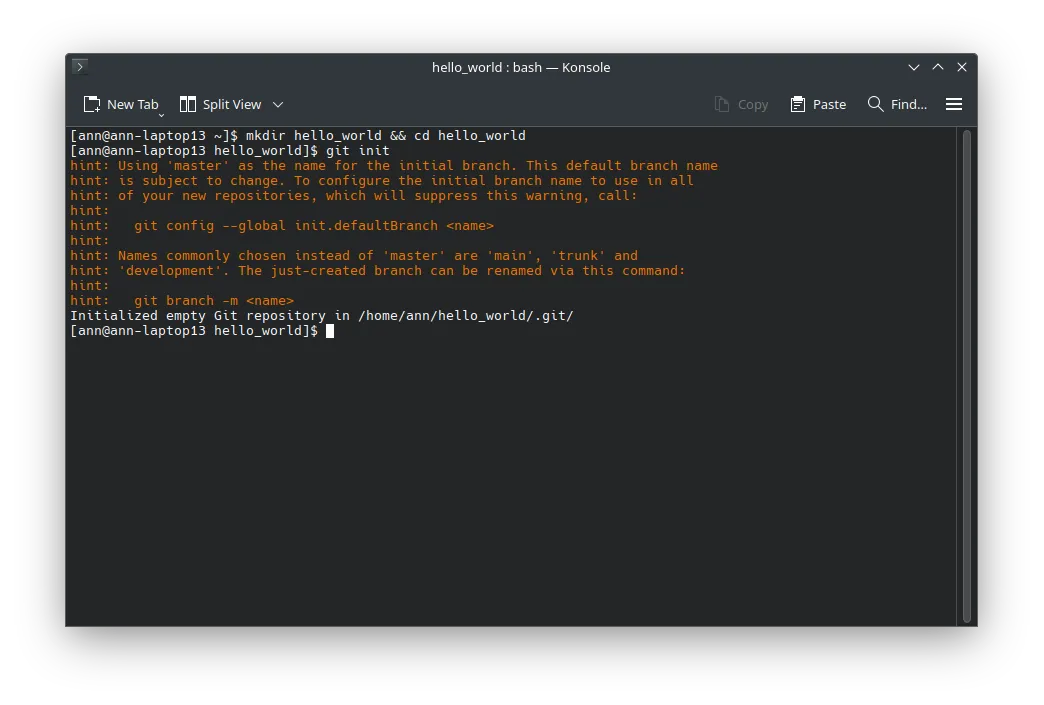
Congratulations! You have now created a new empty git repository. In the next step, we will add RIOT as a submodule to our project.
Add RIOT as a Submodule
We want to import RIOT as a submodule to our project. This will allow us to easily update to newer versions of RIOT and also allows us to easily share our project with others on GitHub, Gitlab, or any other git hosting service.
To add RIOT as a submodule, we use the following command:
git submodule add https://github.com/RIOT-OS/RIOT.git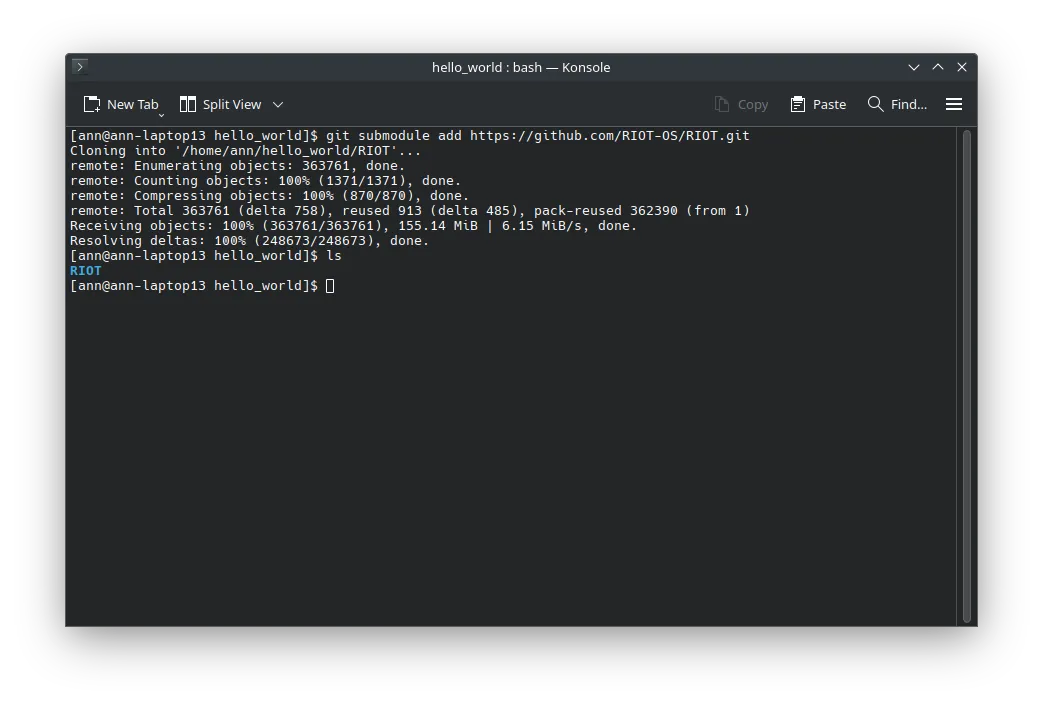
When looking into our directory via ls, we can see that a new directory called RIOT has been created. This directory contains the RIOT source code. If you were to push your project to a git hosting service, the RIOT directory would not be included in the repository. Instead, the repository would contain a reference to the commit of the RIOT repository that you have added as a submodule. This way, the repository stays small and only contains the code that you have written and not the entire RIOT source code.
Remember that you need to clone your own repository with the --recursive option to get the submodule as well.
git clone --recursive https://git.example.com/your/repo.gitAlternatively if you have already cloned your own repository, you can run the following command to initialize and update the submodule:
git submodule update --init --recursiveYour folder should look like this now:
Directoryhello_world
DirectoryRIOT/
- …
Step 2: Creating our Hello World Program
Section titled “Step 2: Creating our Hello World Program”Now that we have added RIOT as a submodule to our project,
we can start writing our hello world program.
To do this, we create a new file called main.c in the hello_world directory.
You can use any text editor to create this file.
We will use Visual Studio Code in this example.
To open Visual Studio Code in the directory, you can use the following command:
code .Now that Visual Studio Code is open,
we create a new file called main.c and add the following code:
/* * For many printing related things, such as the puts function here * we import stdio, depending on your board, platform or form of output * it then includes the right definitions without the need to * worry about the specific details. */#include <stdio.h>
/* * This is the main function of the program. * It serves as the entry point for the program and gets called once your CPU is * initialized. * * The function returns an integer value, which is the exit status * of the program. A return value of 0 indicates that the program has finished * successfully. */int main(void){    puts("Hello World!");
    return 0;}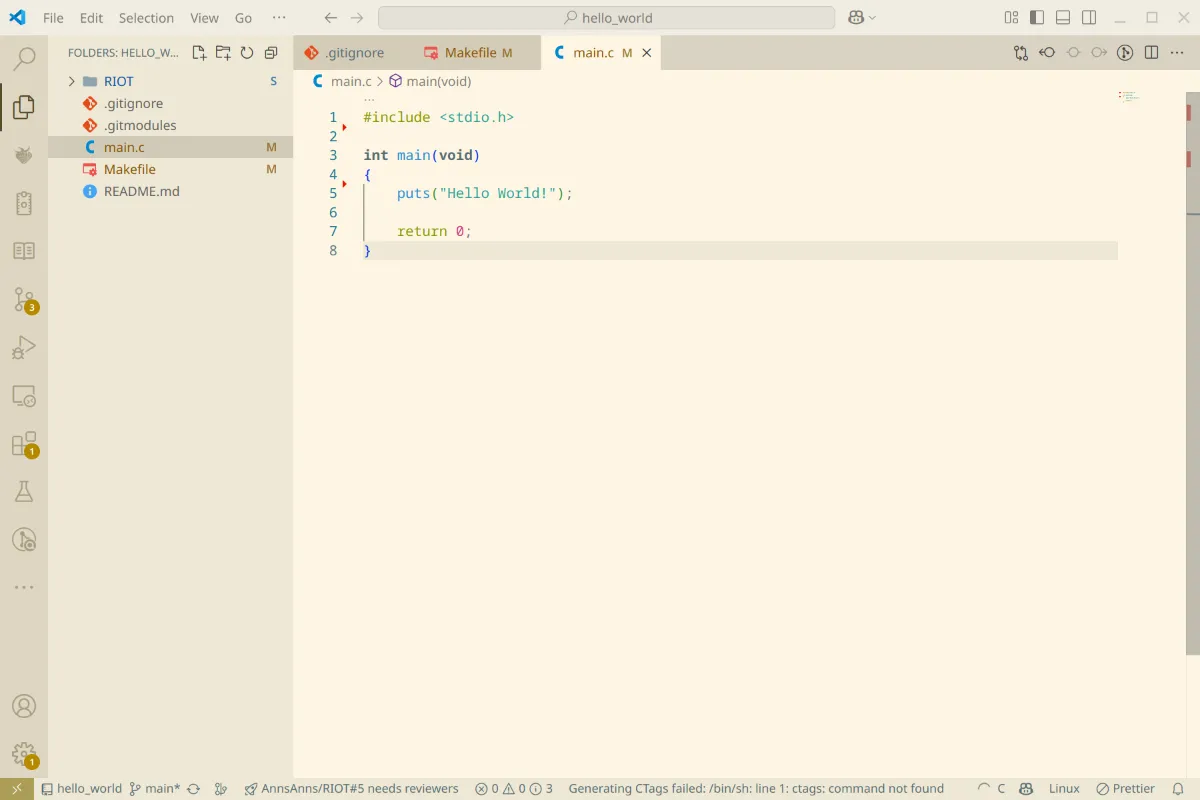
This program will print “Hello World!” to the console when it is run.
The #include <stdio.h> line includes the standard input/output library,
which allows us to use the puts function to print to the console.
Step 3: Creating the Makefile
Section titled “Step 3: Creating the Makefile”Now that we have created our hello world program,
we need to create a Makefile to build our program.
The Makefile is a build automation tool that allows us to define how our program should be built.
We create a new file called Makefile in the hello_world directory and add the following code:
# name of your applicationAPPLICATION = hello-world
# Change this to your board if you want to build for a different boardBOARD ?= native
# This has to be the absolute path to the RIOT base directory:RIOTBASE ?= $(CURDIR)/RIOT
# Comment this out to disable code in RIOT that does safety checking# which is not needed in a production environment but helps in the# development process:DEVELHELP ?= 1
# Change this to 0 show compiler invocation lines by default:QUIET ?= 1
include $(RIOTBASE)/Makefile.include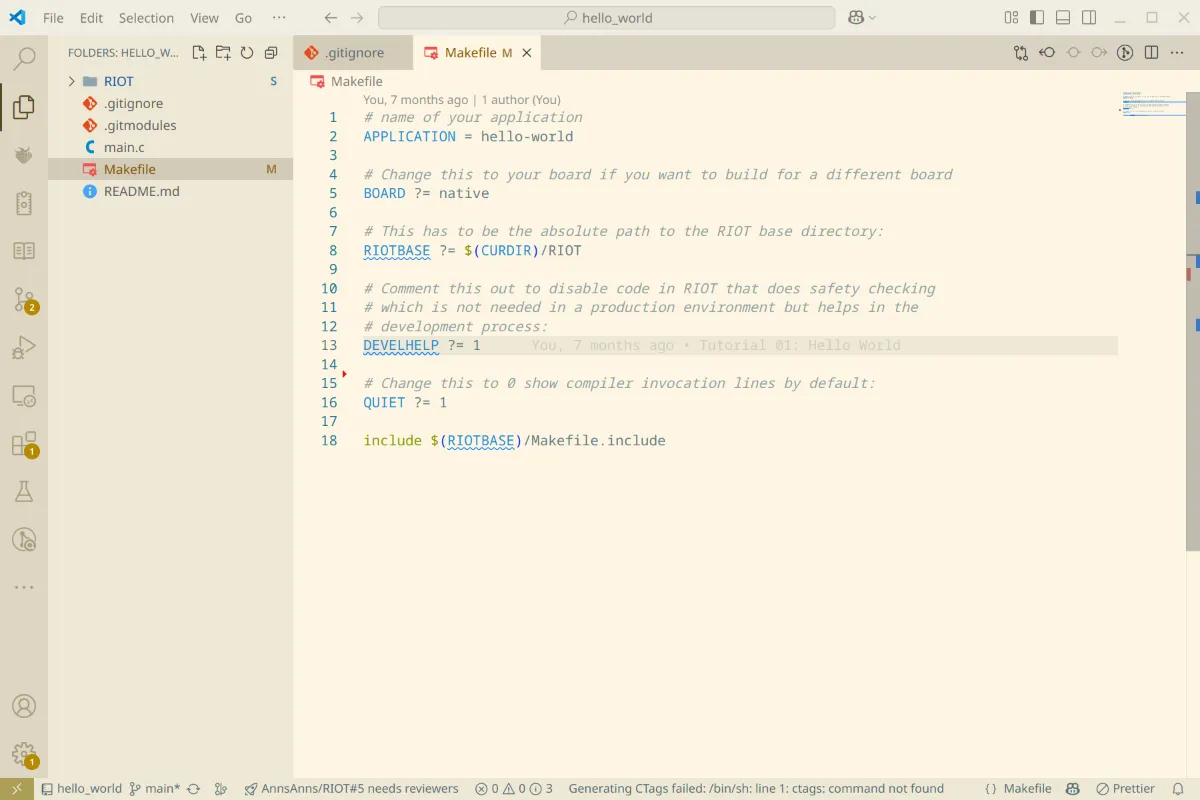
By now, your project directory should look like this:
Directoryhello_world
DirectoryRIOT/
- …
- Makefile
- main.c
Congratulations! You have now created a new project with a simple hello world program. In the next step, we will build and run our program just like we did in the “Getting Started” guide.
Step 4: Building and Running the Program
Section titled “Step 4: Building and Running the Program”To build our program, we use the following command:
BUILD_IN_DOCKER=1 make all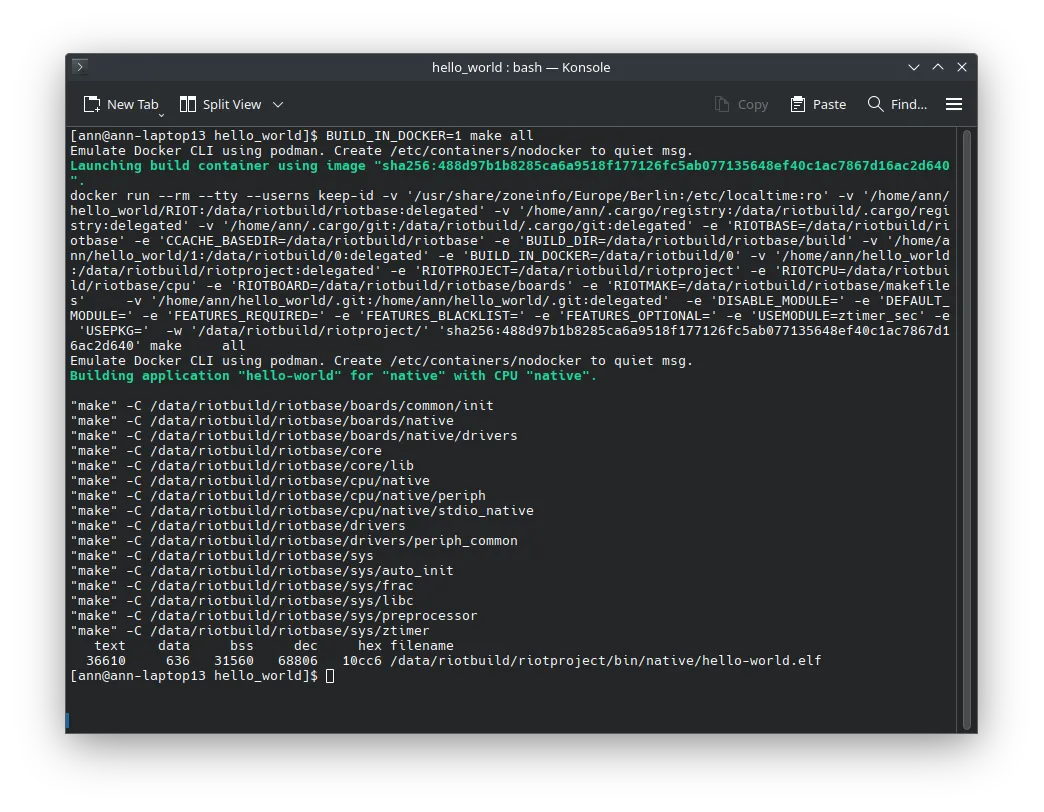
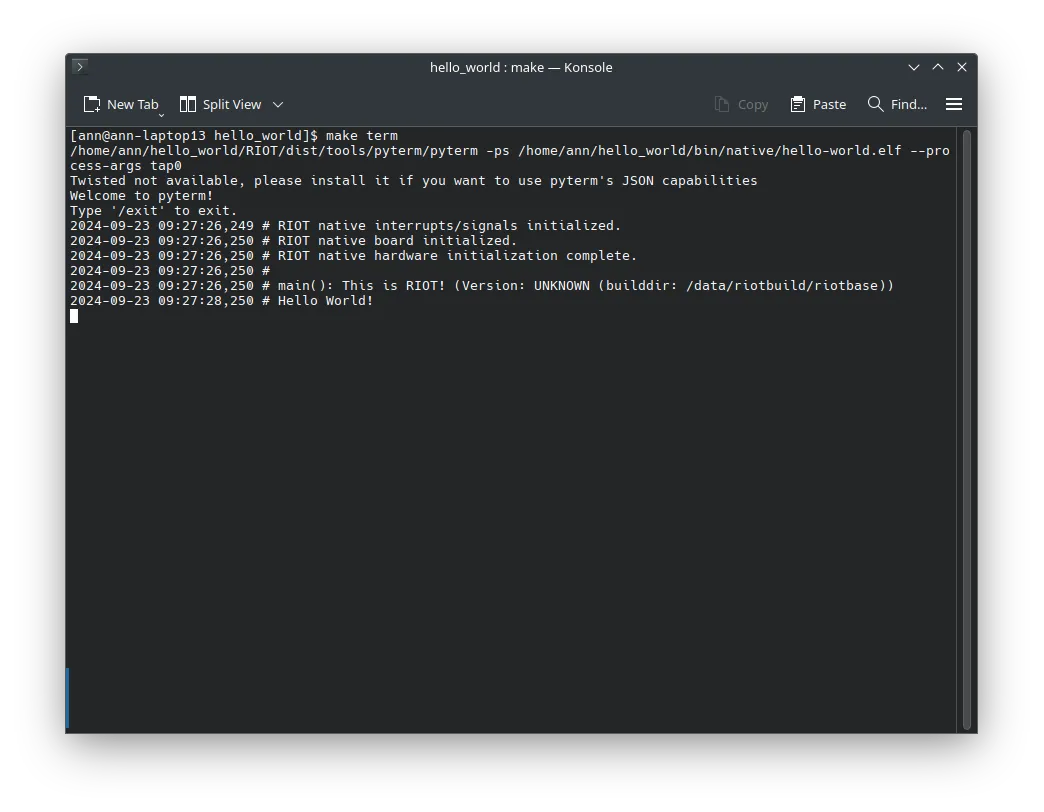
After building the program, we can run it using the following command to start the RIOT shell:
make termIf everything went well, you should see our hello world program printing “Hello World!” to the console after a few seconds.
Hooraay! You have successfully created a new project with a simple hello world program.
Conclusion
Section titled “Conclusion”In this tutorial, we have created a new project with a simple hello world program. We have added RIOT as a submodule to our project, created a hello world program, and built and run the program using the RIOT build system. You can now start building your own applications using RIOT and explore the vast possibilities that RIOT has to offer.