Installing WSL (Windows-only)
Install Ubuntu LTS
Section titled “Install Ubuntu LTS”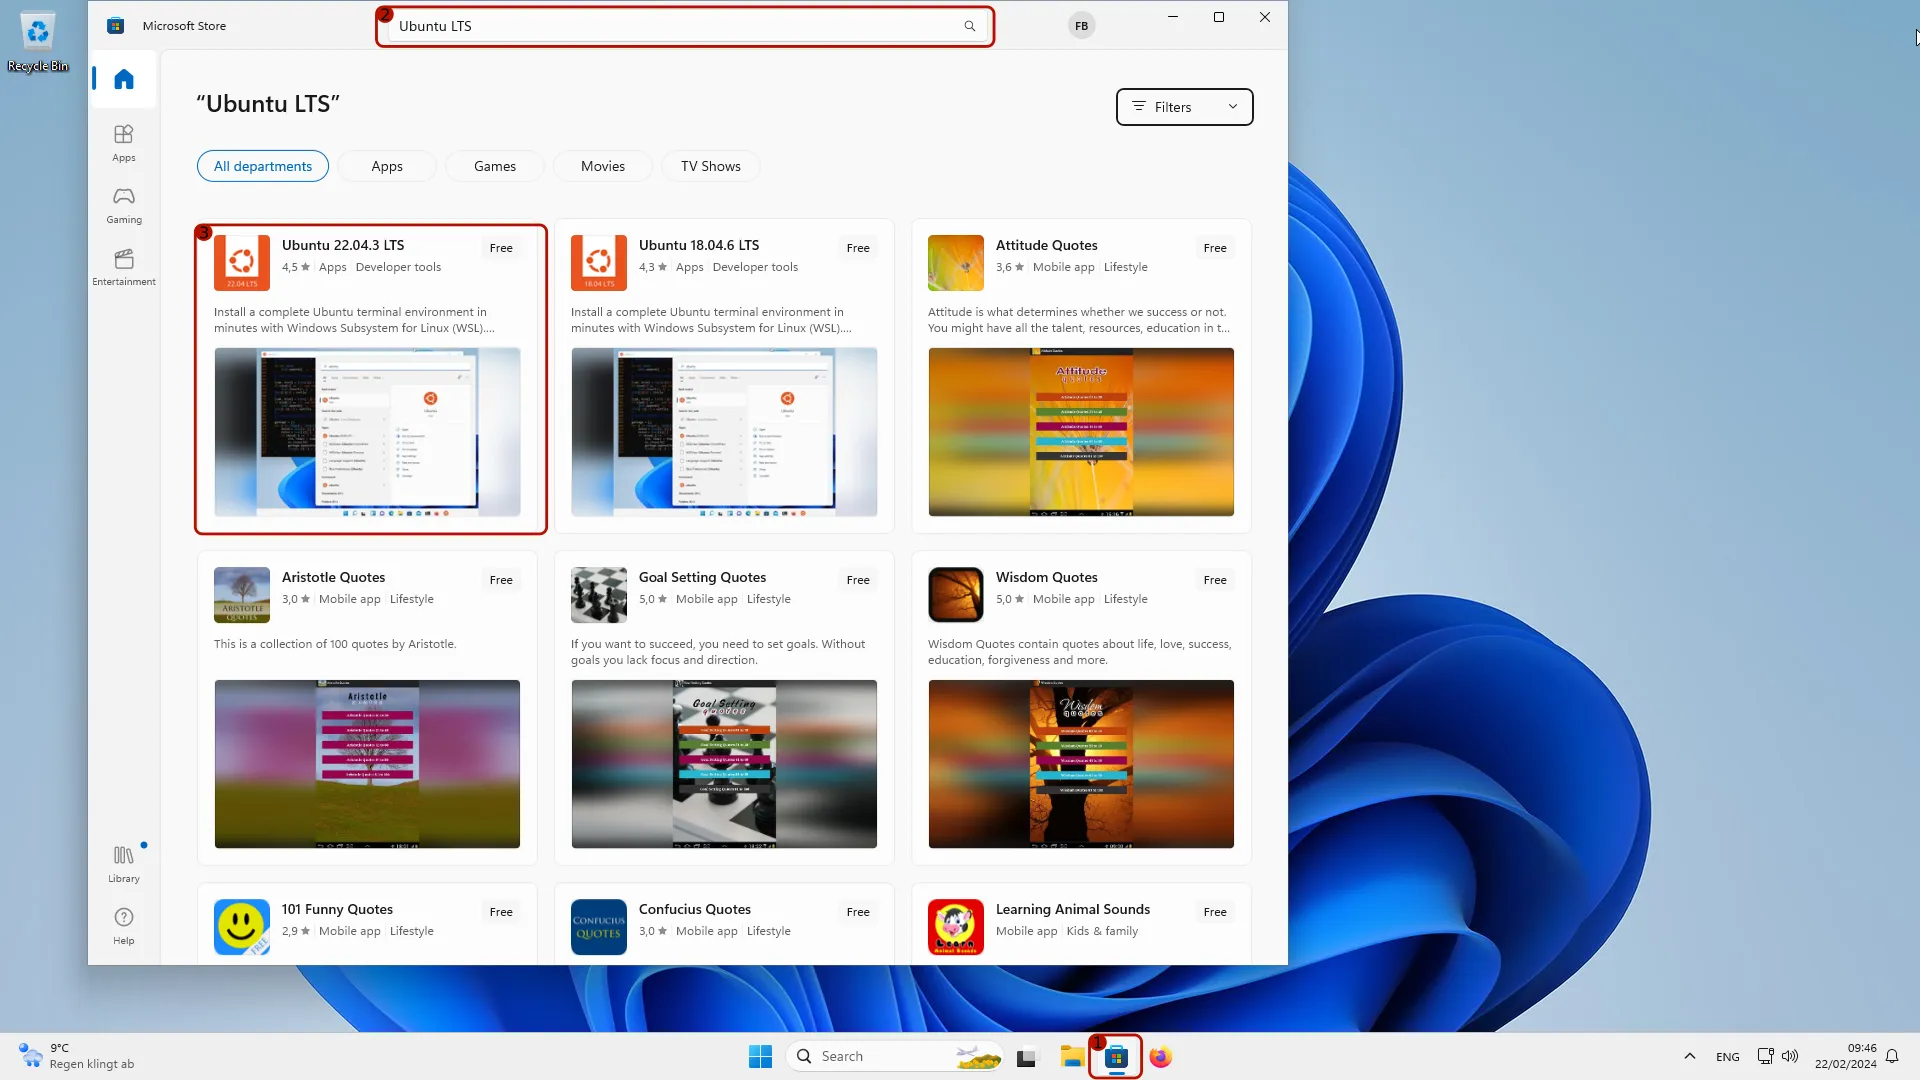
- Open the Windows Store
- Type “Ubuntu LTS” in the search bar
- Click on the most recent version (highest number) of Ubuntu LTS found. As of February 2024, this is version Ubuntu 22.04.3 LTS.
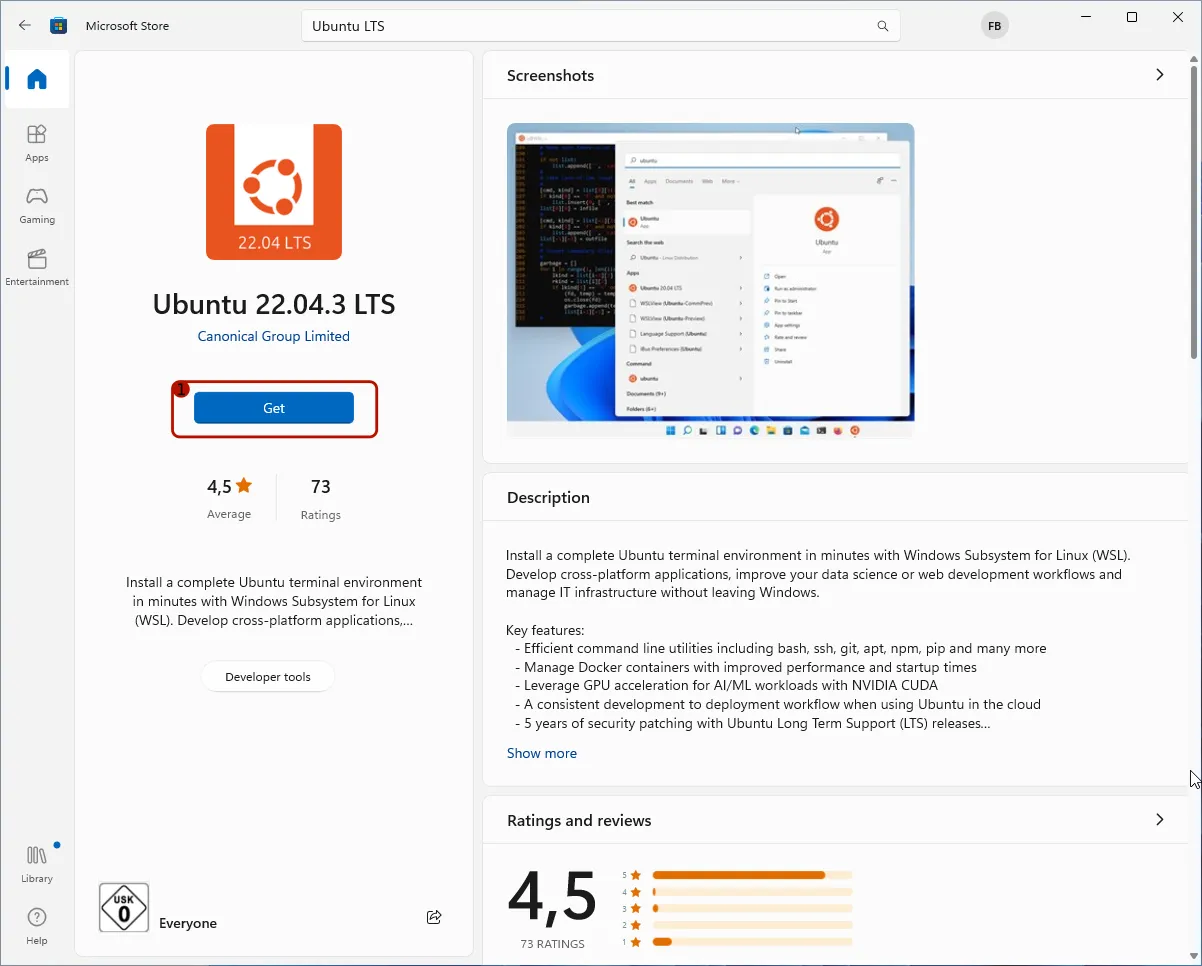
- Click on the button labeled “Get”
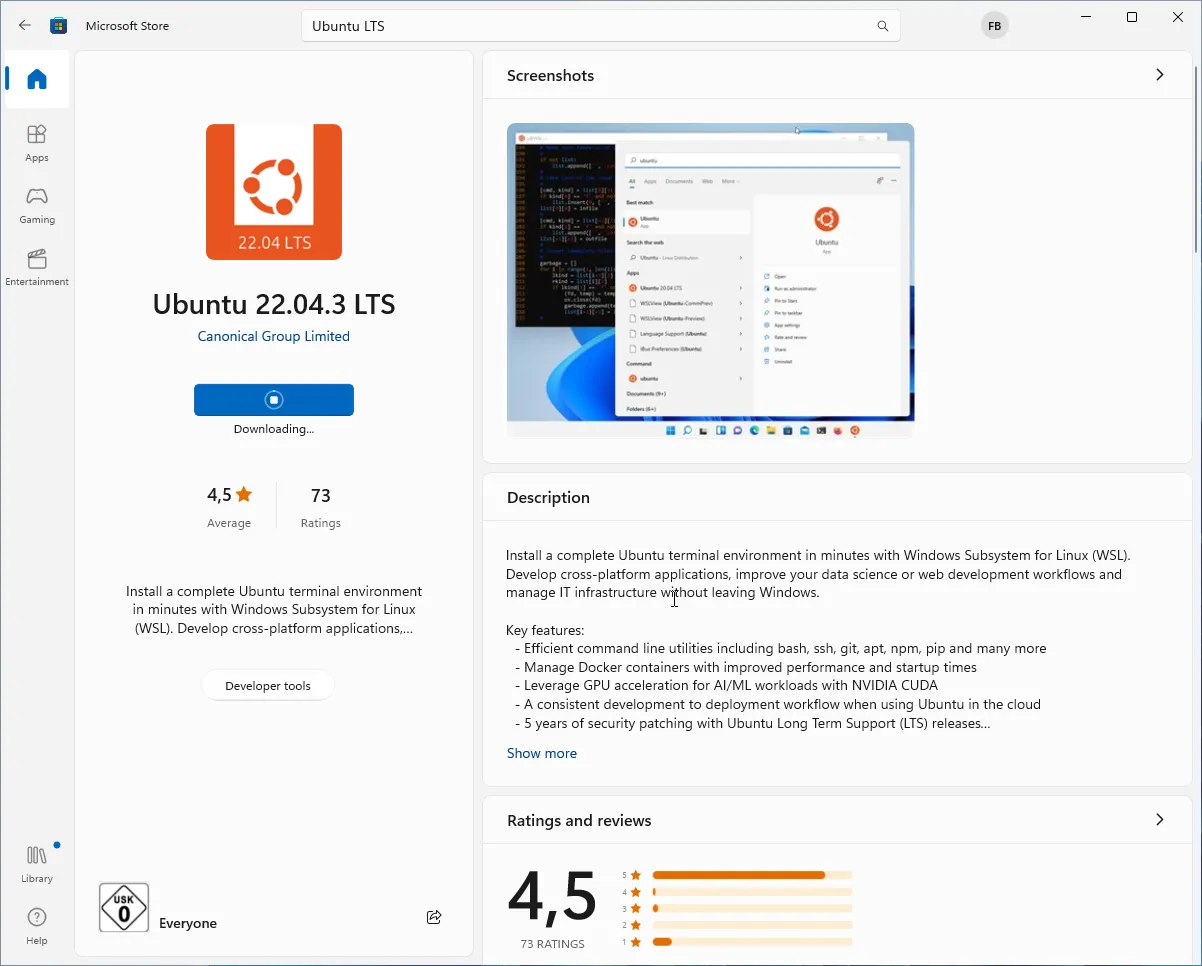
It will take a while for Ubuntu LTS to be installed.

Eventually, the installation completes.
- Click on the button labeled “Open”
Enabling WSL
Section titled “Enabling WSL”
- Search for “powershell” in the search field of the task bar
- Right-click on the hit “Windows PowerShell”
- Click “Run as administrator”
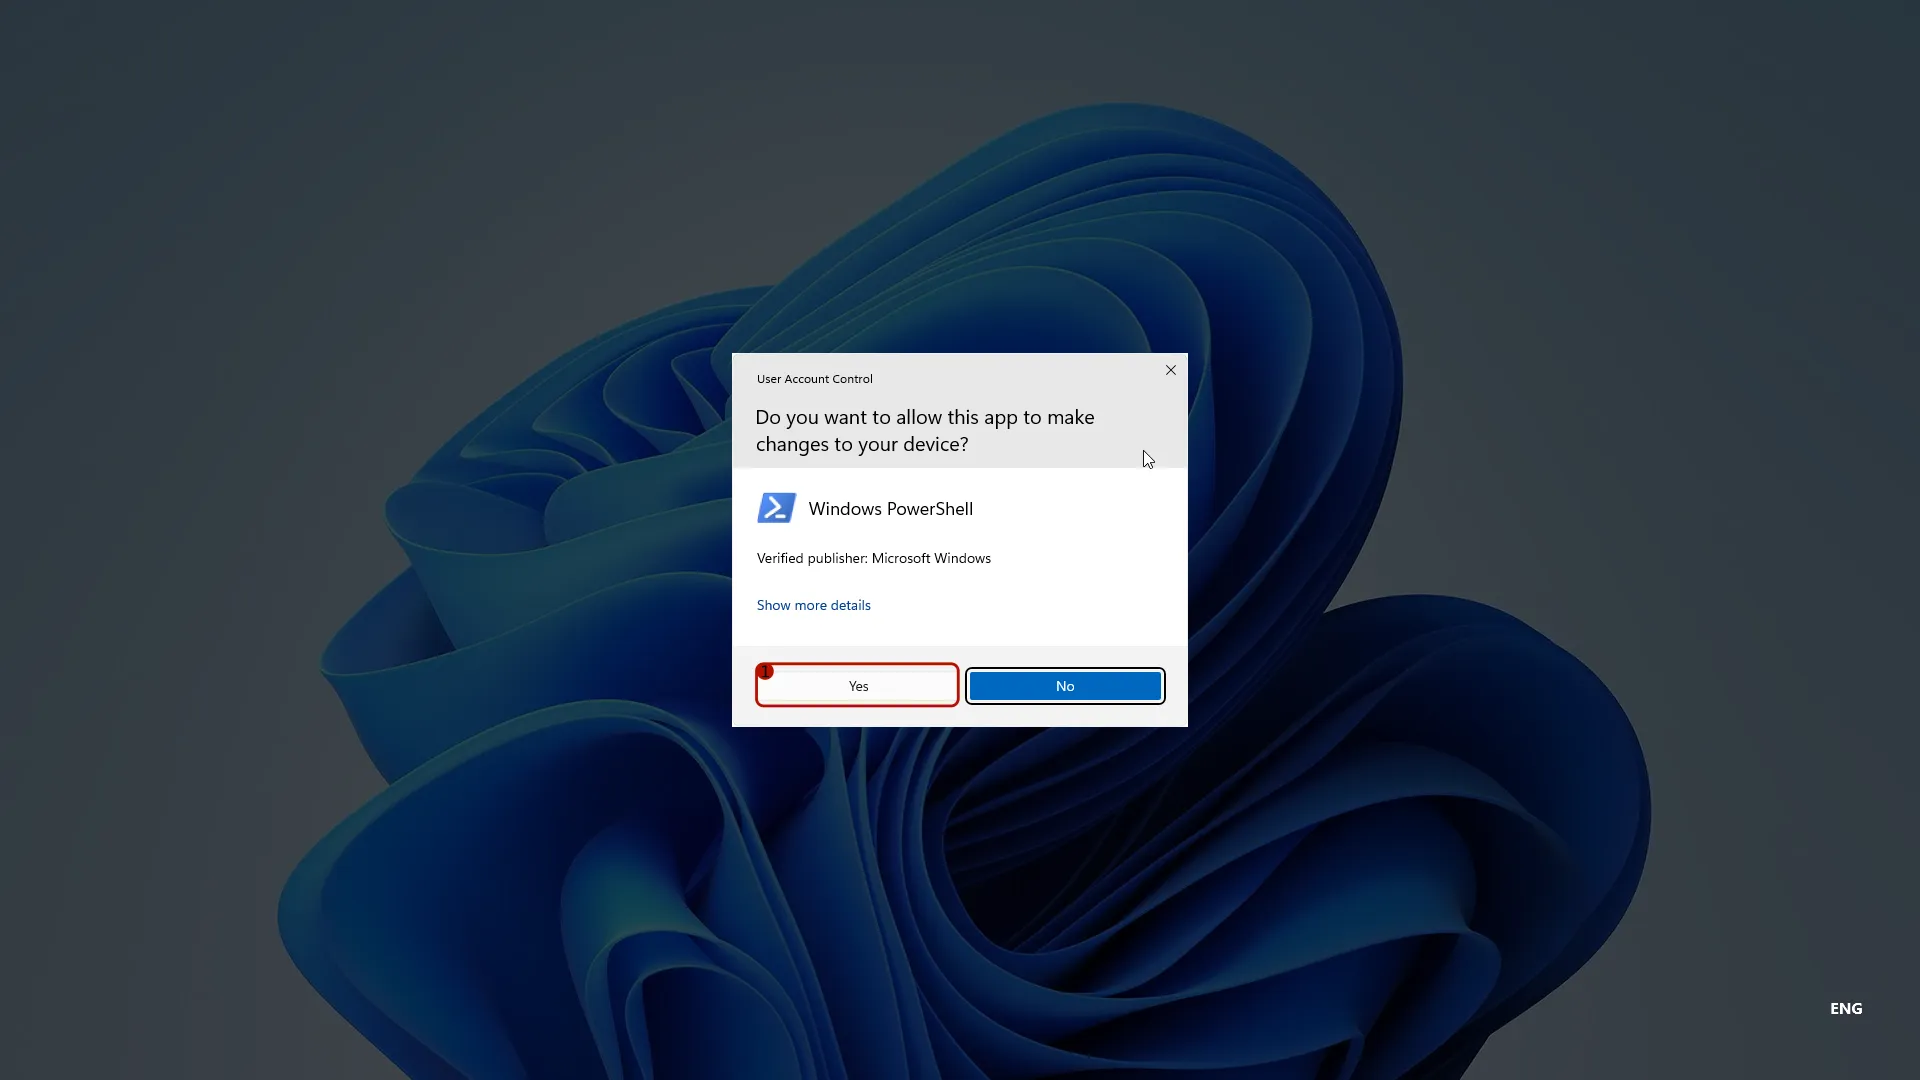
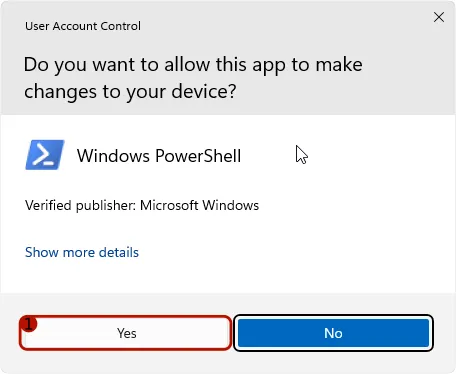
- Click “Yes” to confirm running the PowerShell as administrator
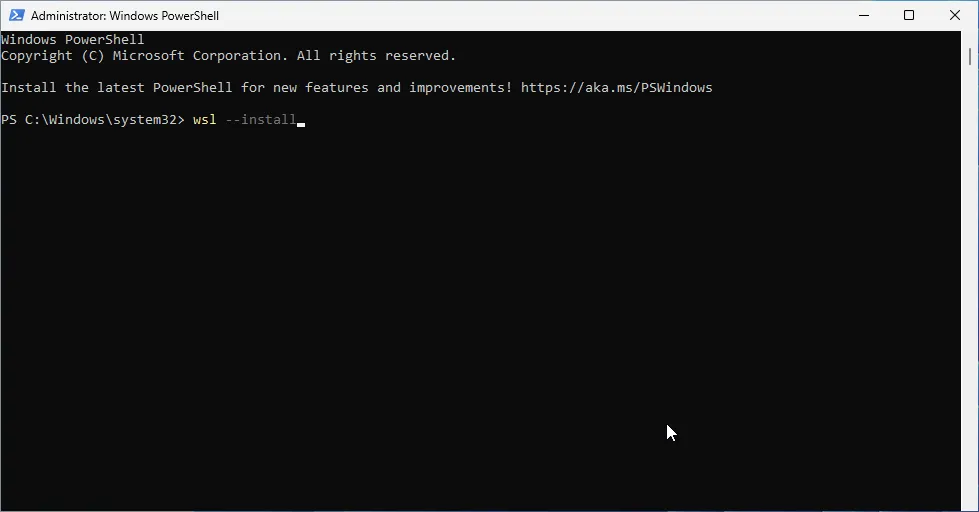
- Type
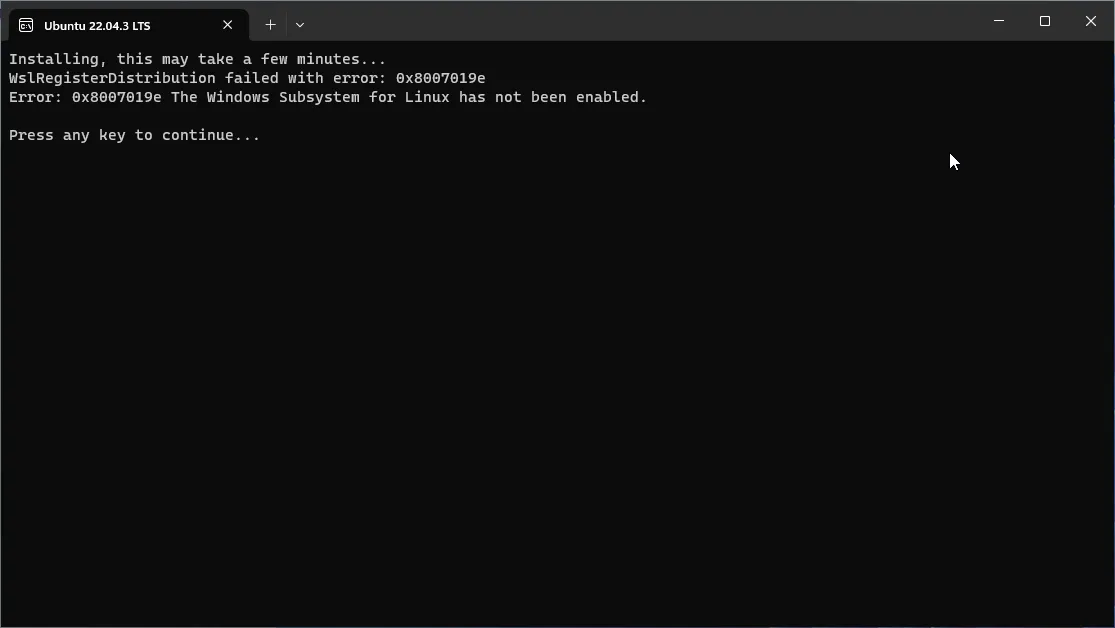
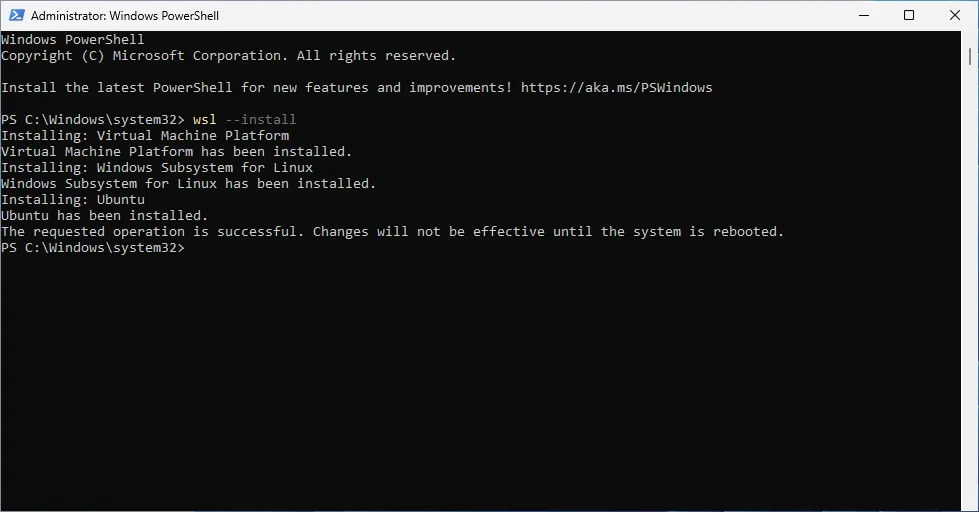
wsl --installand confirm with the return-key. - After a while, the following message should appear:
- Now reboot Windows to complete the installation
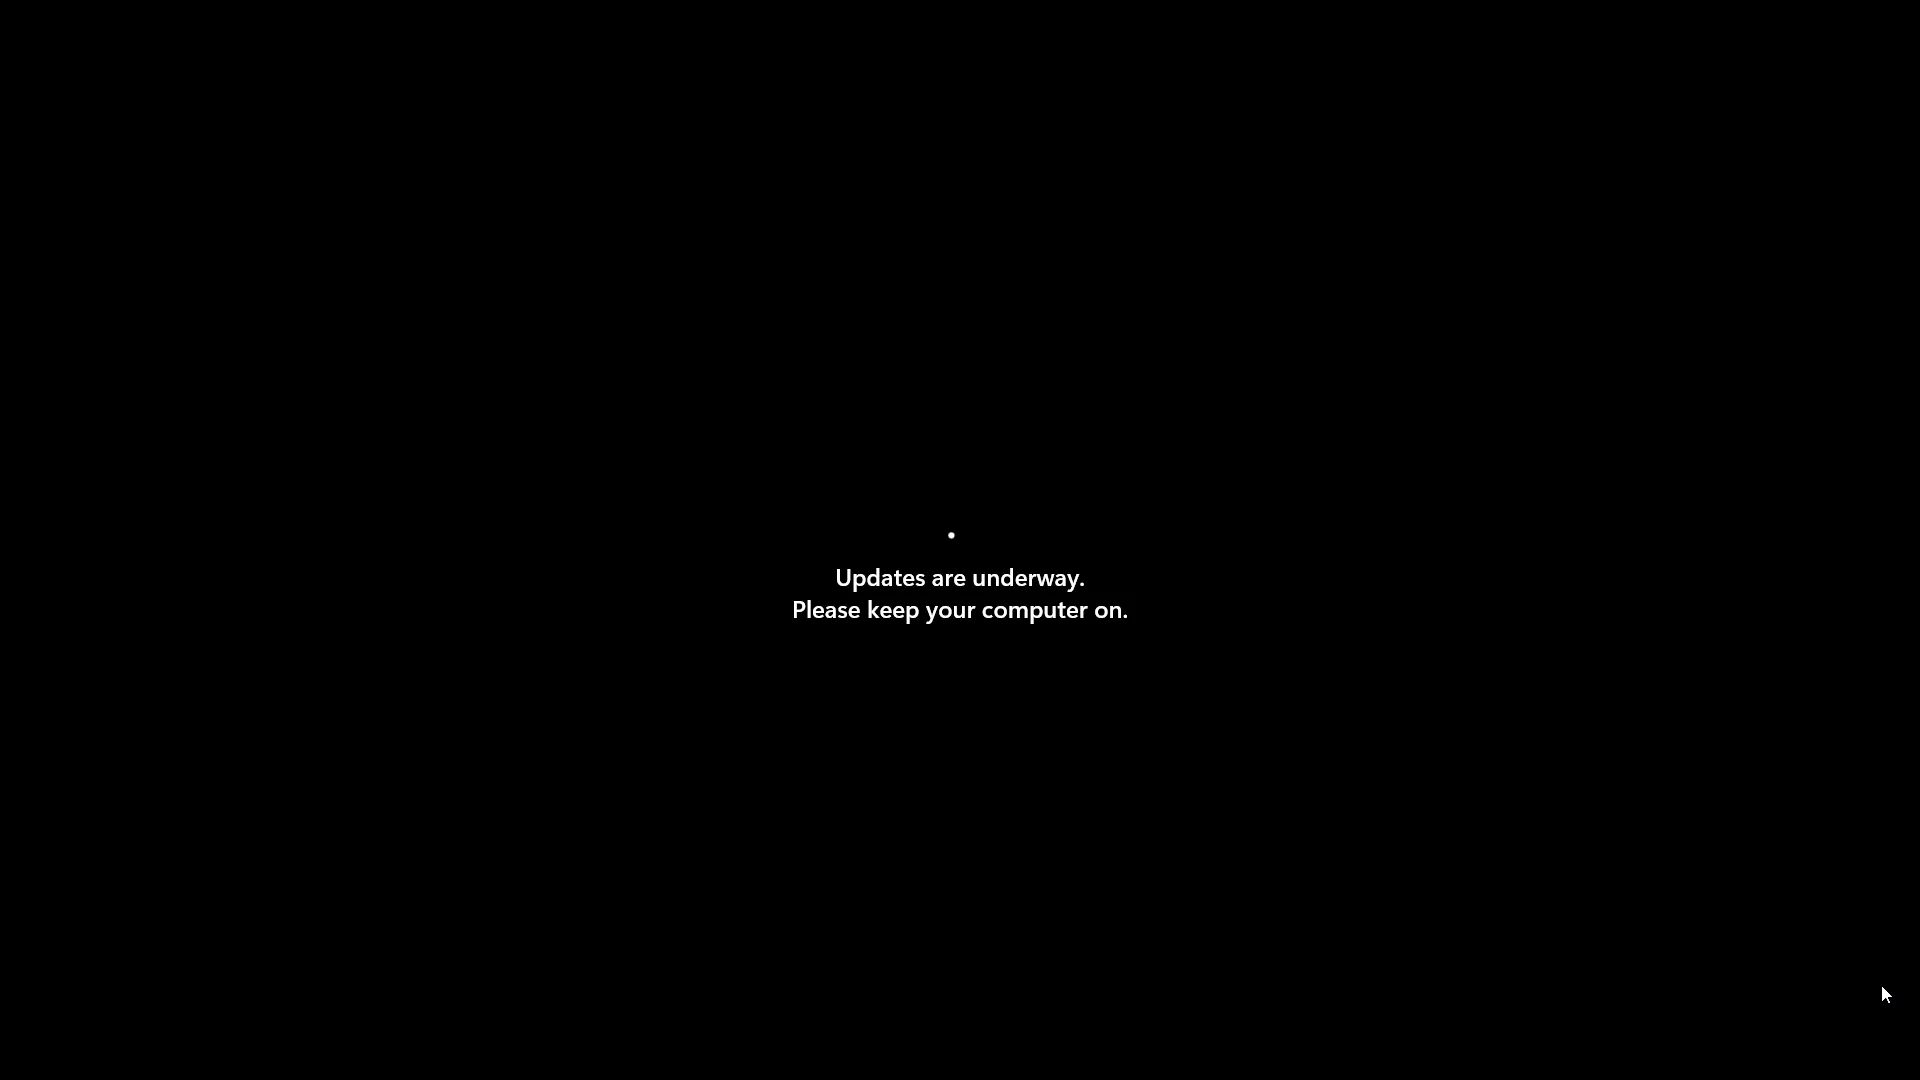
The reboot will take longer than usual due to the installation of WSL. You may see a screen like above for some time. Once the reboot is completed, an Ubuntu terminal should open automatically.
Setup Ubuntu LTS
Section titled “Setup Ubuntu LTS”You should now see an Ubuntu terminal such as:
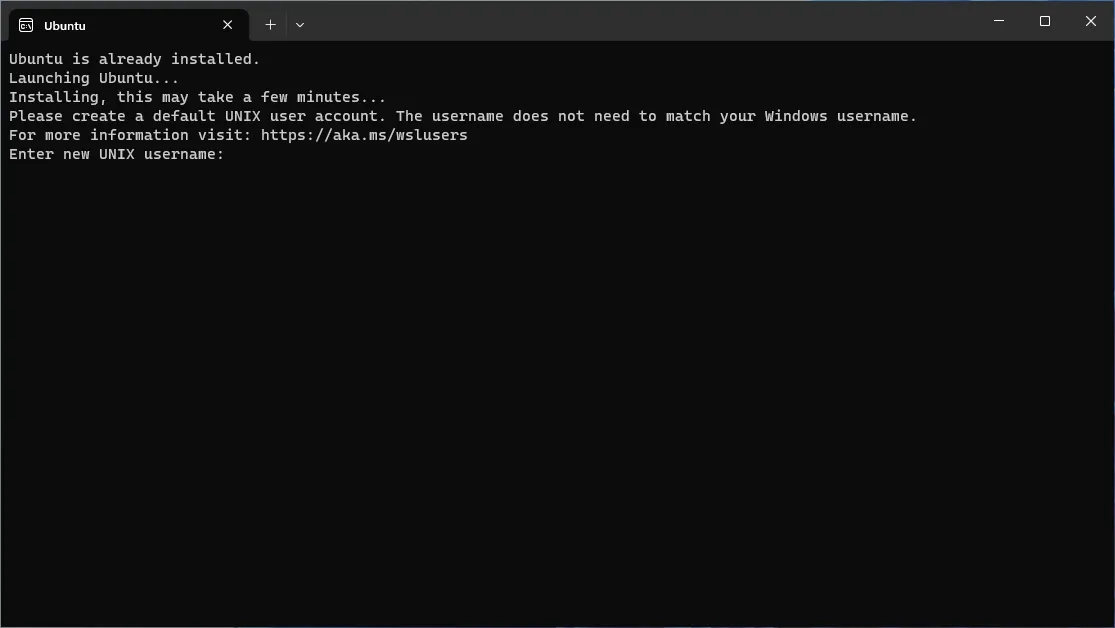
If no Ubuntu terminal has opened, click here to see how to open it
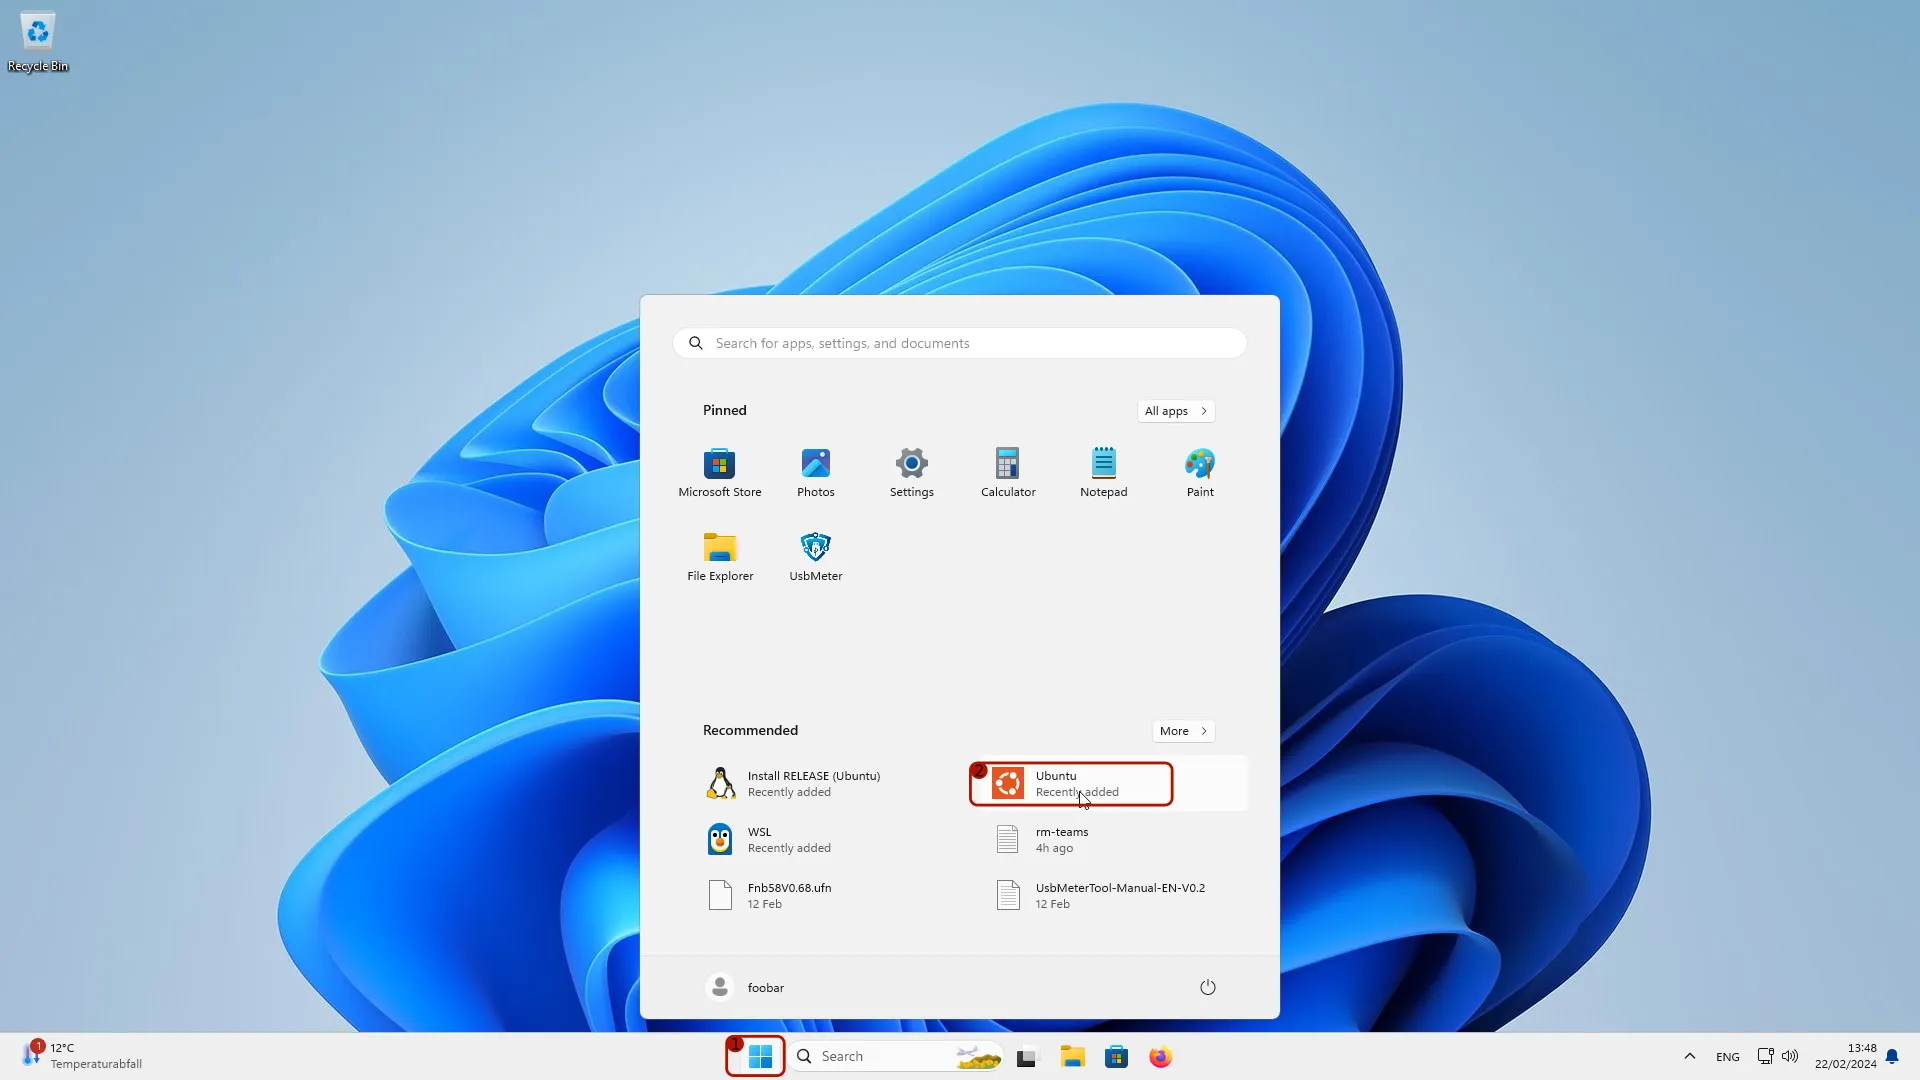
- Click on the Start / Windows button in the task bar
- Click on the “Ubuntu” entry
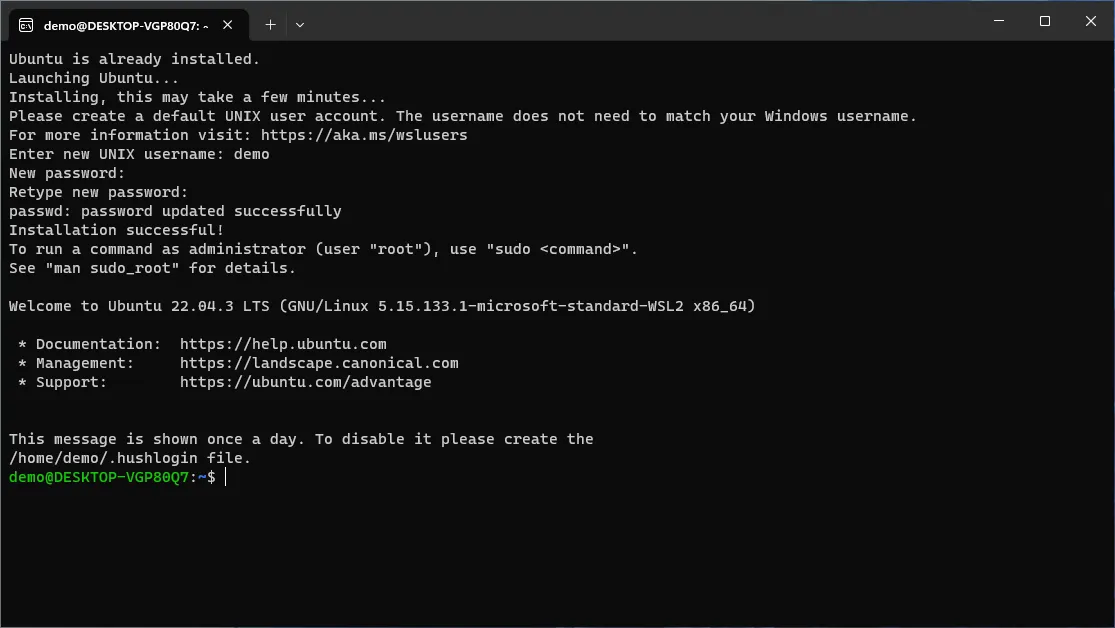
- Enter a user name of your choice, memorize it, and confirm with the return-key
- Enter a password of your choice, memorize it, and confirm with the return-key
- Repeat the password and confirm with the return-key
- Once you successfully have entered user name and password, you should see something like this:
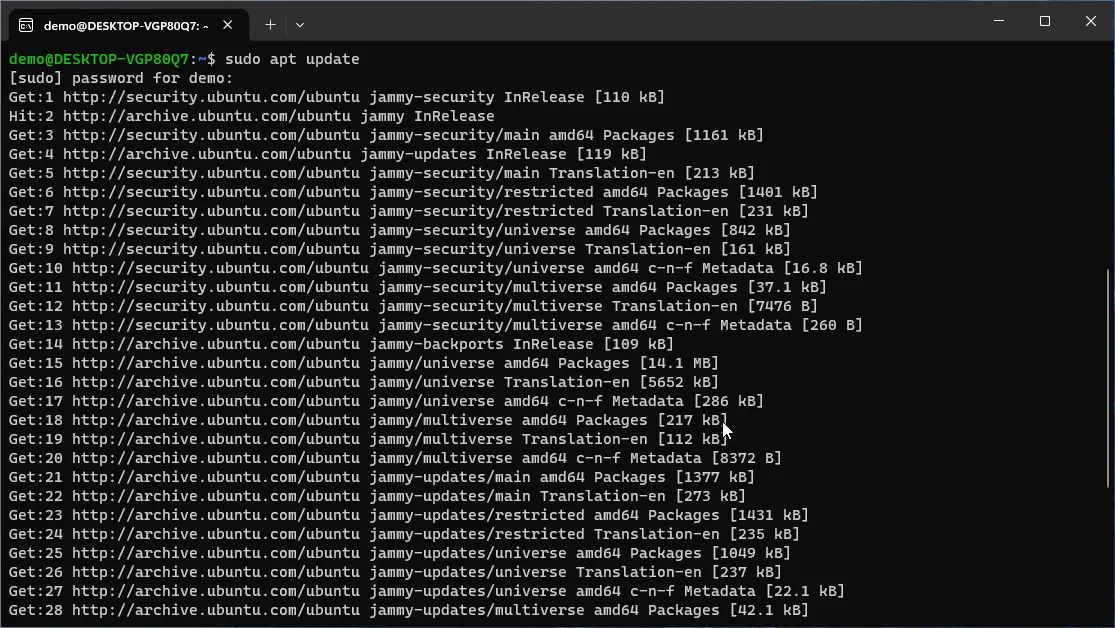
- now type (without quotation signs) “sudo apt update” and confirm with the return-key
- you will be asked for you password. Enter it and confirm with the return key
- Once you successfully entered the password, something like this will show up:
- Now type
sudo apt upgradeand confirm with the return-key
- This command will list which packages are about to be updated. Confirm with with the return-key
- Eventually after all software packages in Ubuntu have been updated, you will see something like this:

Installing VS Code
Section titled “Installing VS Code”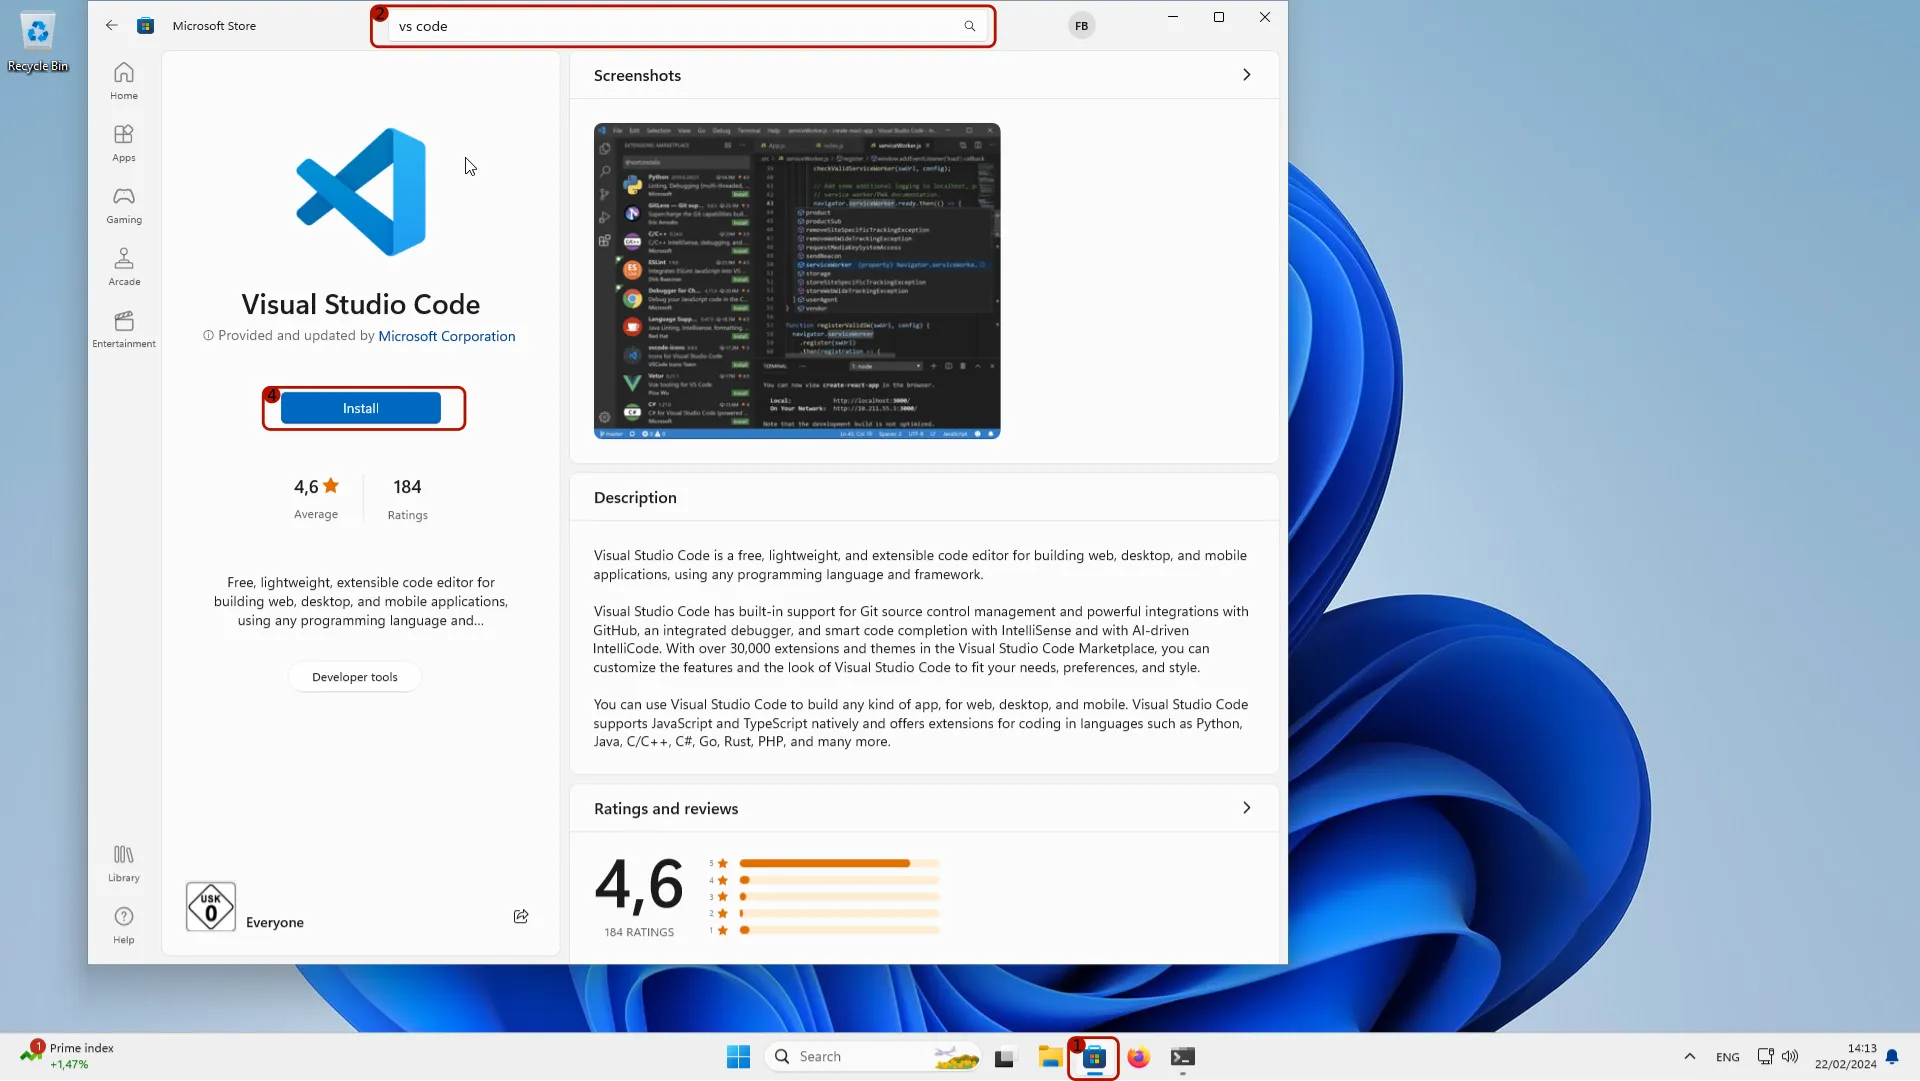
- Click on the Windows Store icon to open the Windows store
- Type
vs codein the search bar - Click on the “Visual Studio Code by Microsoft Corporation” search result (not shown in the screenshot above)
- In the Windows Store page of VS Code (as shown in the screenshot above), click on the button labeled “Install”
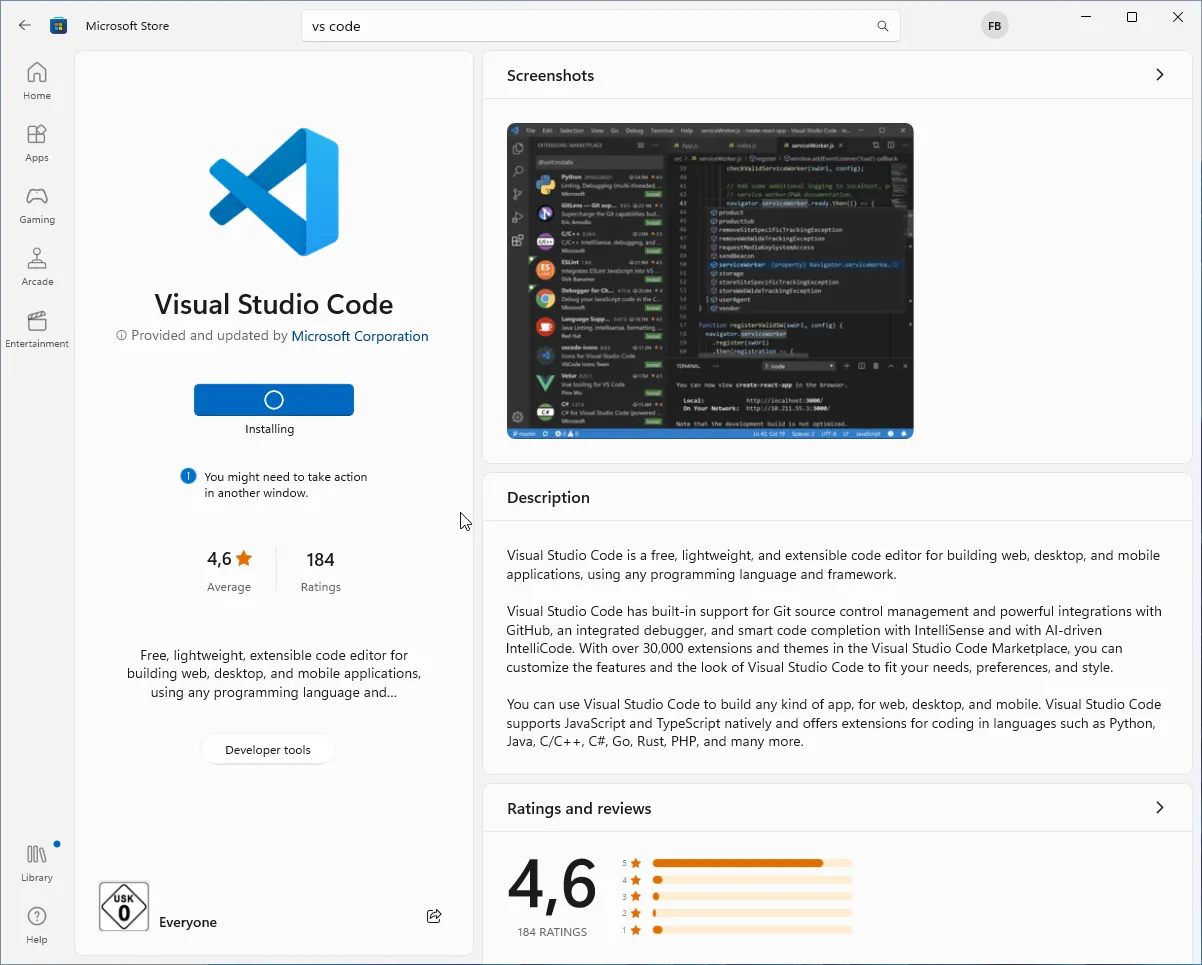
- Downloading and installing VS Code by the Store App may take some time
- Eventually, it should show something like this:
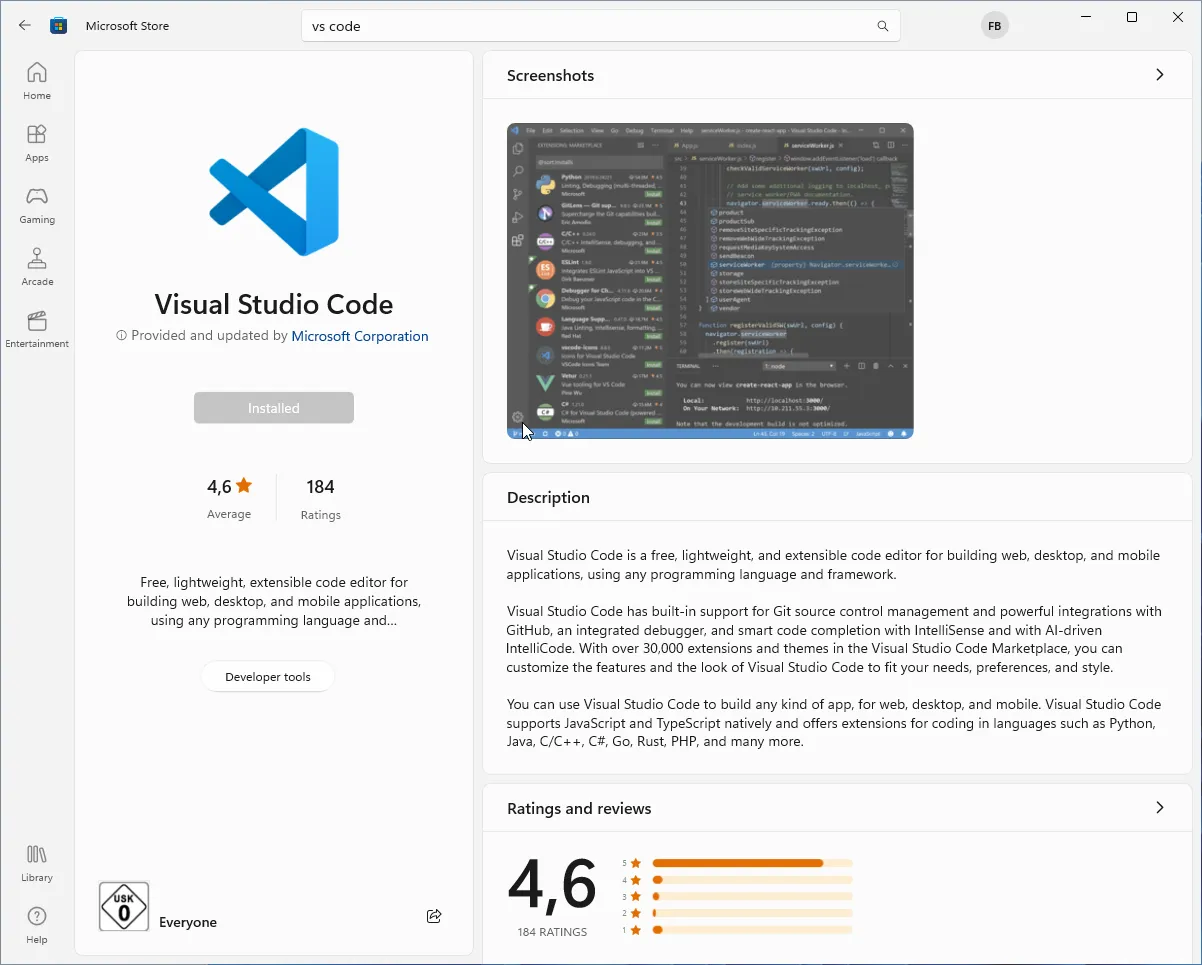
- Now, launch VS Code via the start menu
- On the first launch, VS code will look similar to this:
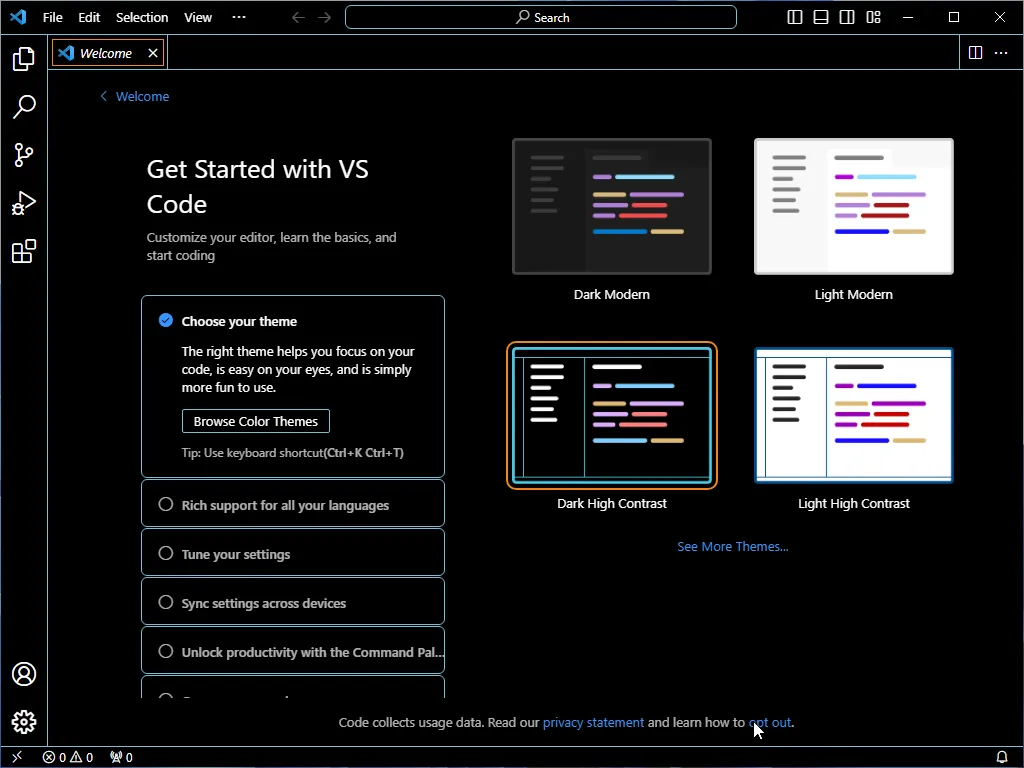
- You can select a theme of you liking
- You might want to dial back the data collection by Microsoft by clicking on “opt out”
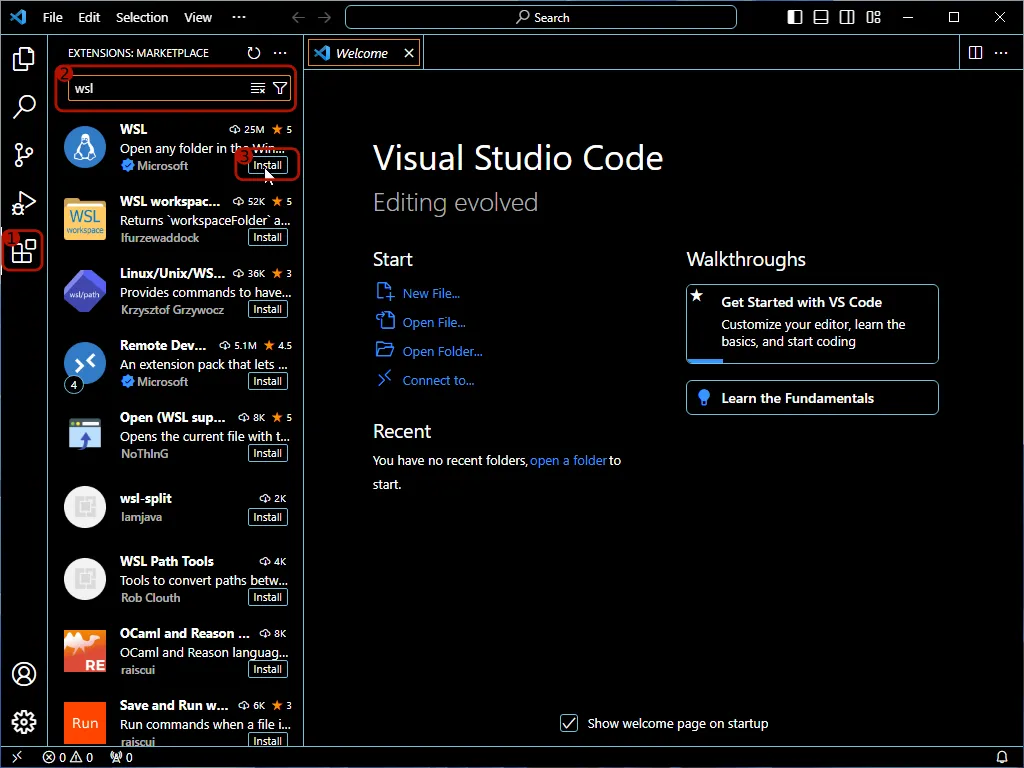
- Open the extension marketplace by clicking on the extensions icon in the left menu bar
- Search for
wslin the search field - Click on the “Install” button for the “WSL” extension by “Microsoft”
Installing usbipd-win
Section titled “Installing usbipd-win”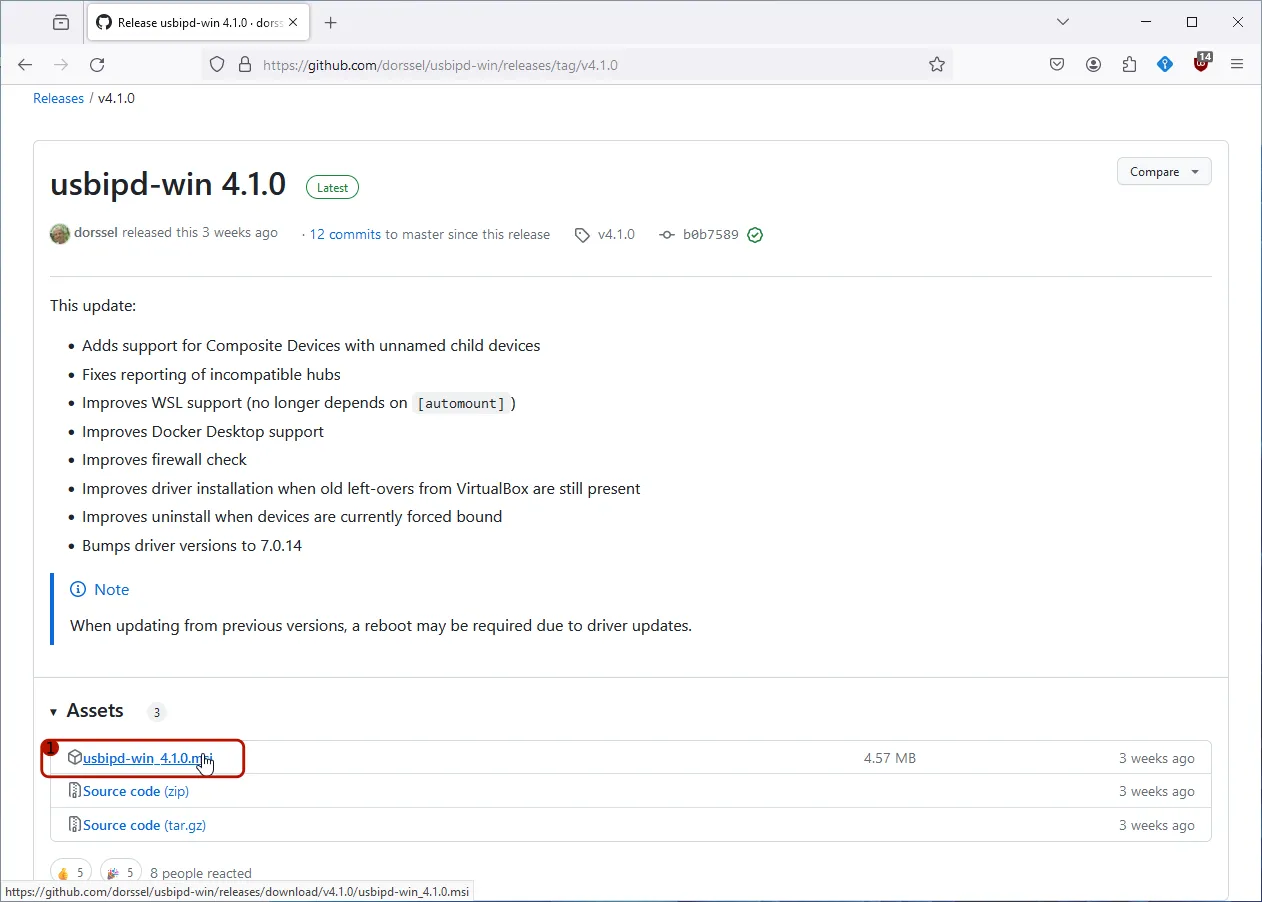
- Open the release page of
usbipd-win - Download the installer (file extension
.msi) of the most recent release

Once the download is completed:
- Open the downloaded installer
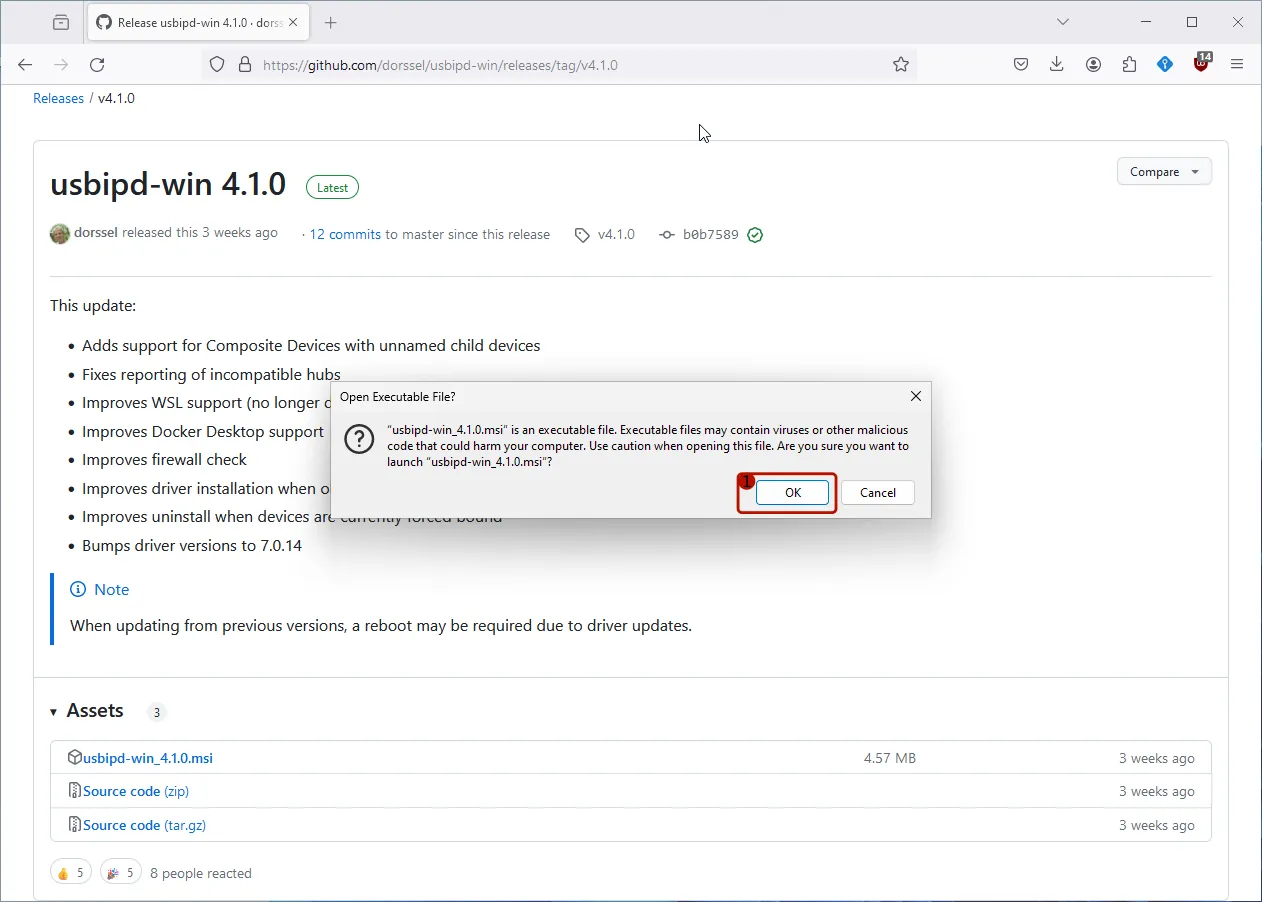
- Confirm that you indeed want to execute the installer by clicking “OK”.
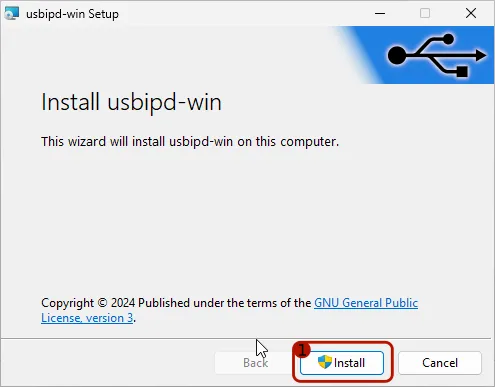
The setup of usbipd-win opens.
- Click on the “Install” button to proceed with the installation.
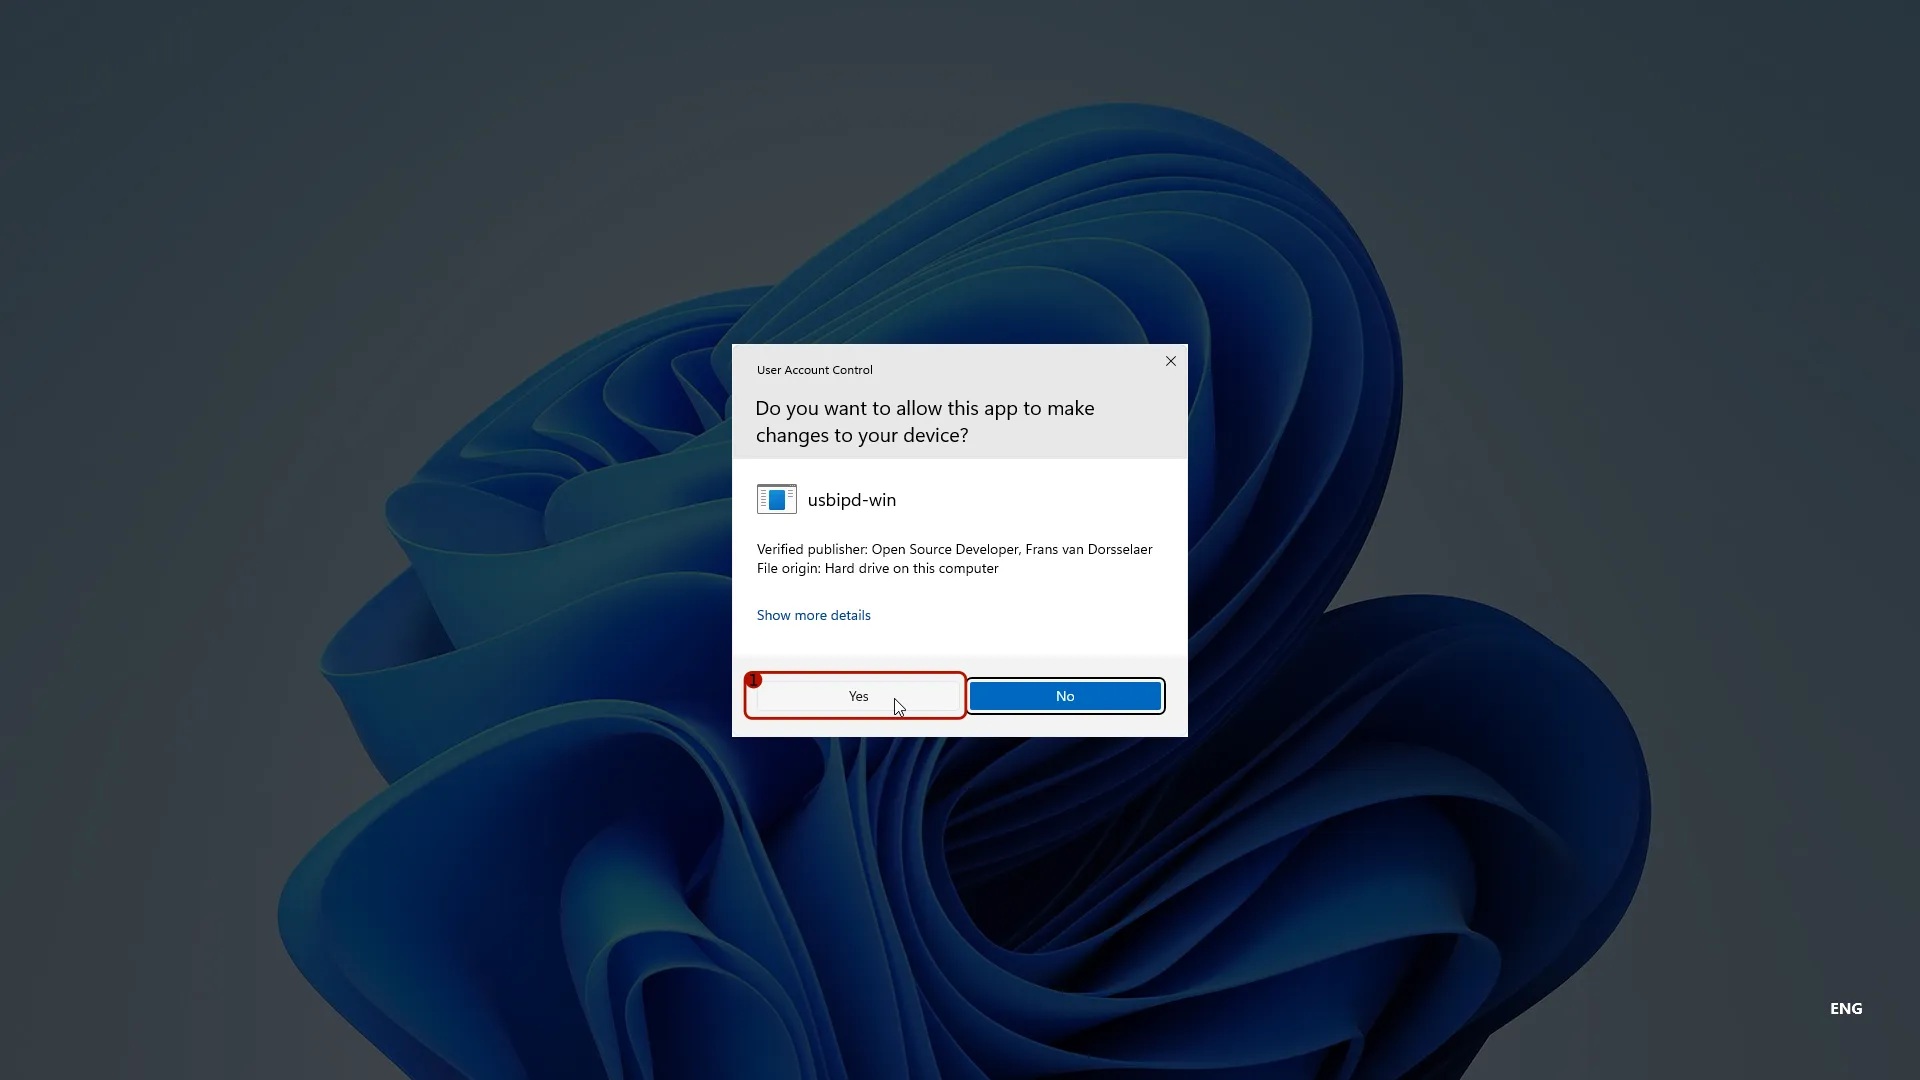
- Confirm the installation by clicking on “Yes”.
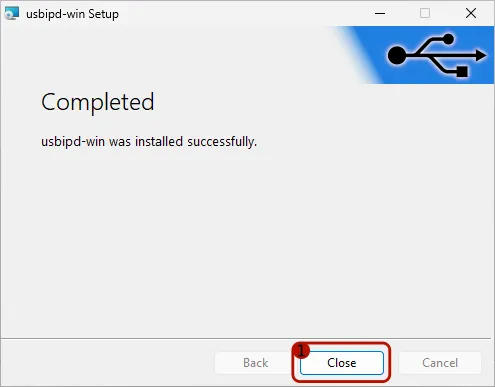
Eventually, the setup will inform you of the completion of the installation.
- Click the “Close” button to acknowledge.
Attach a USB Device to WSL
Section titled “Attach a USB Device to WSL”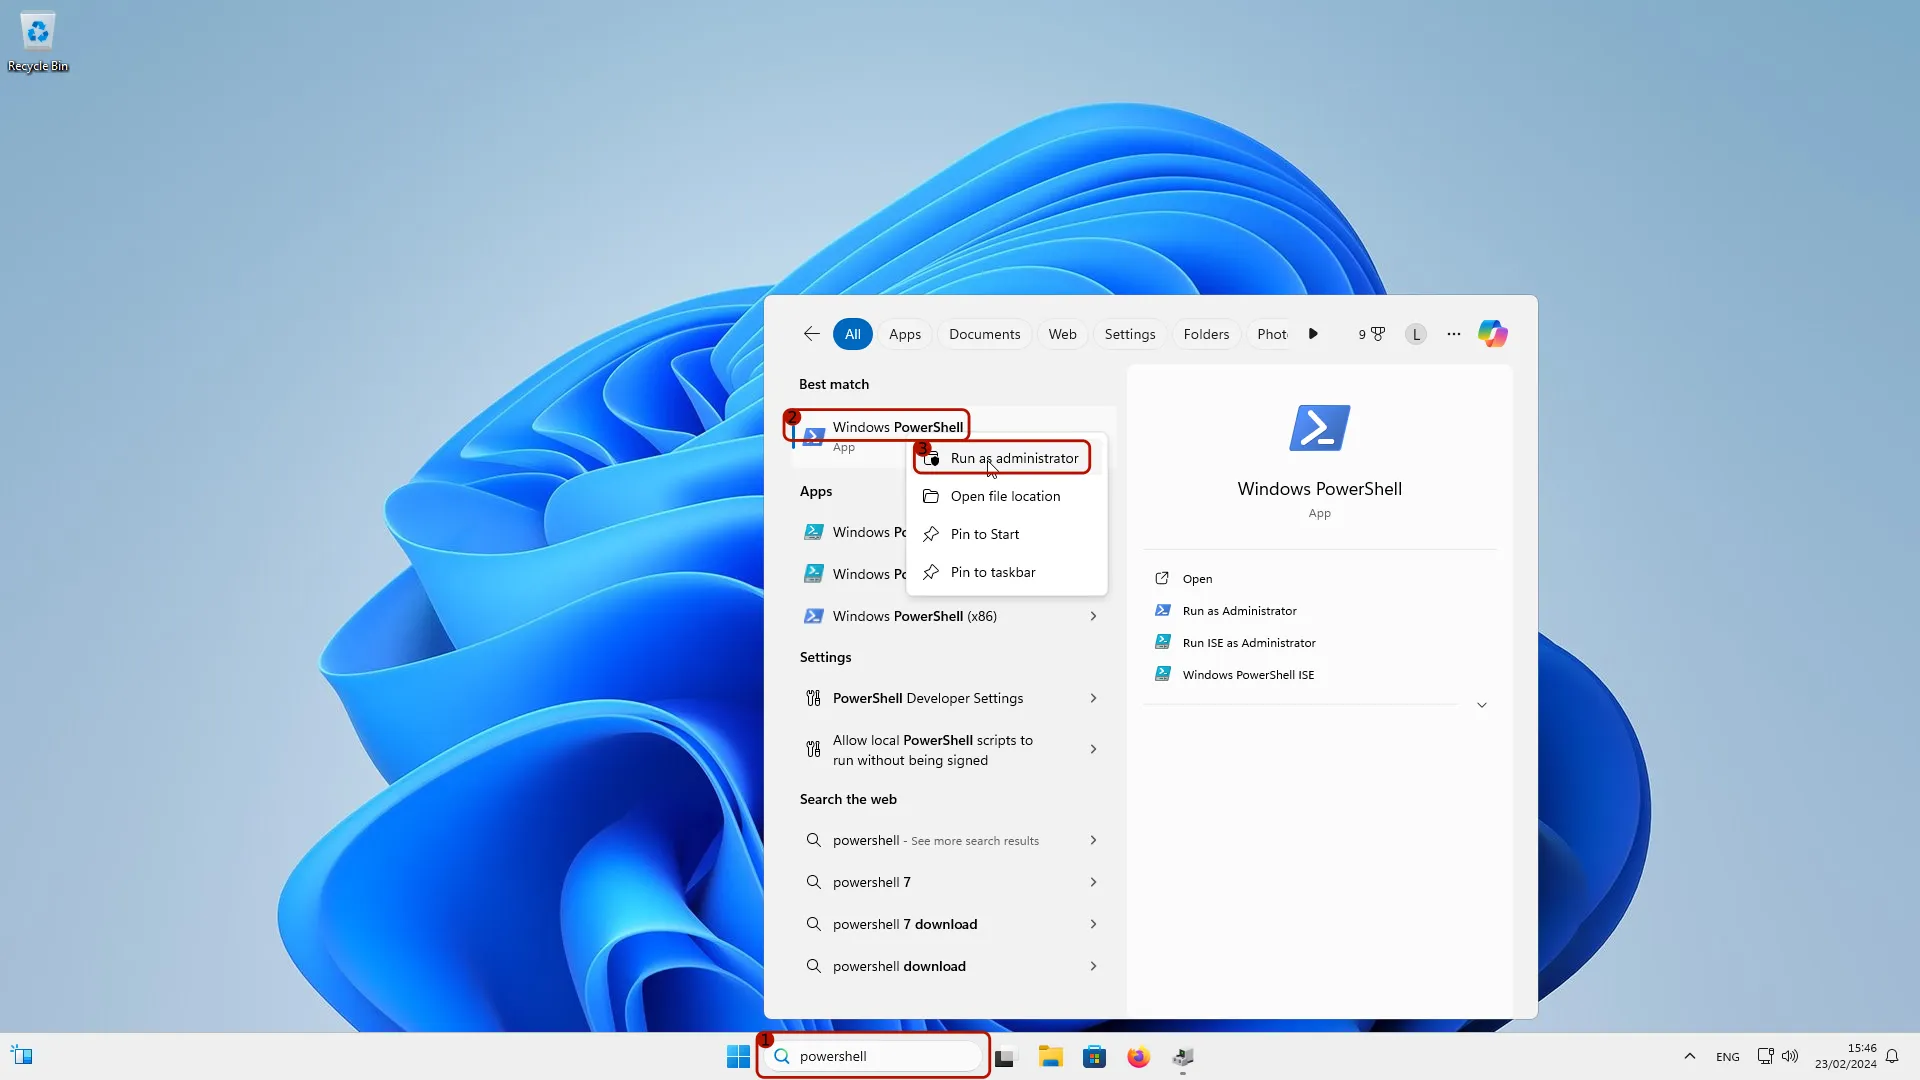
- Search for
powershellin search field in the task bar - Right-click on the search result “Windows PowerShell”
- Select “Run as administrator”
- Click on “Yes” to confirm running the PowerShell as admin

- Type the command
usbipd listand confirm with the return-key - Identify the USB device to share. In this guide we use an ESP32 development board, which almost all use an USB to UART bridge (here the CP2104).
- Run
usbipd bin --busid <BUSID>, but replace<BUSID>with the correct BUSID. E.g.2-5for the CP2104 identified in step 2. - Run
usbipd attach --wsl --busid <BUSID>- If an error (such as above in red) is shown that WSL is not running, just start the Ubuntu terminal now and repeat (step 5.). If it worked the first time, no need to run it again.
Now that you have successfully installed Ubuntu LTS and enabled WSL on your Windows we can proceed with the next steps to setup our development environment.