Flashing a RIOT Application
After all of the previous sections are completed, we can finally flash some
real hardware. In this case, we use an esp32-mh-et-live-minikit development
board. The guide should mostly apply to all other boards as well.
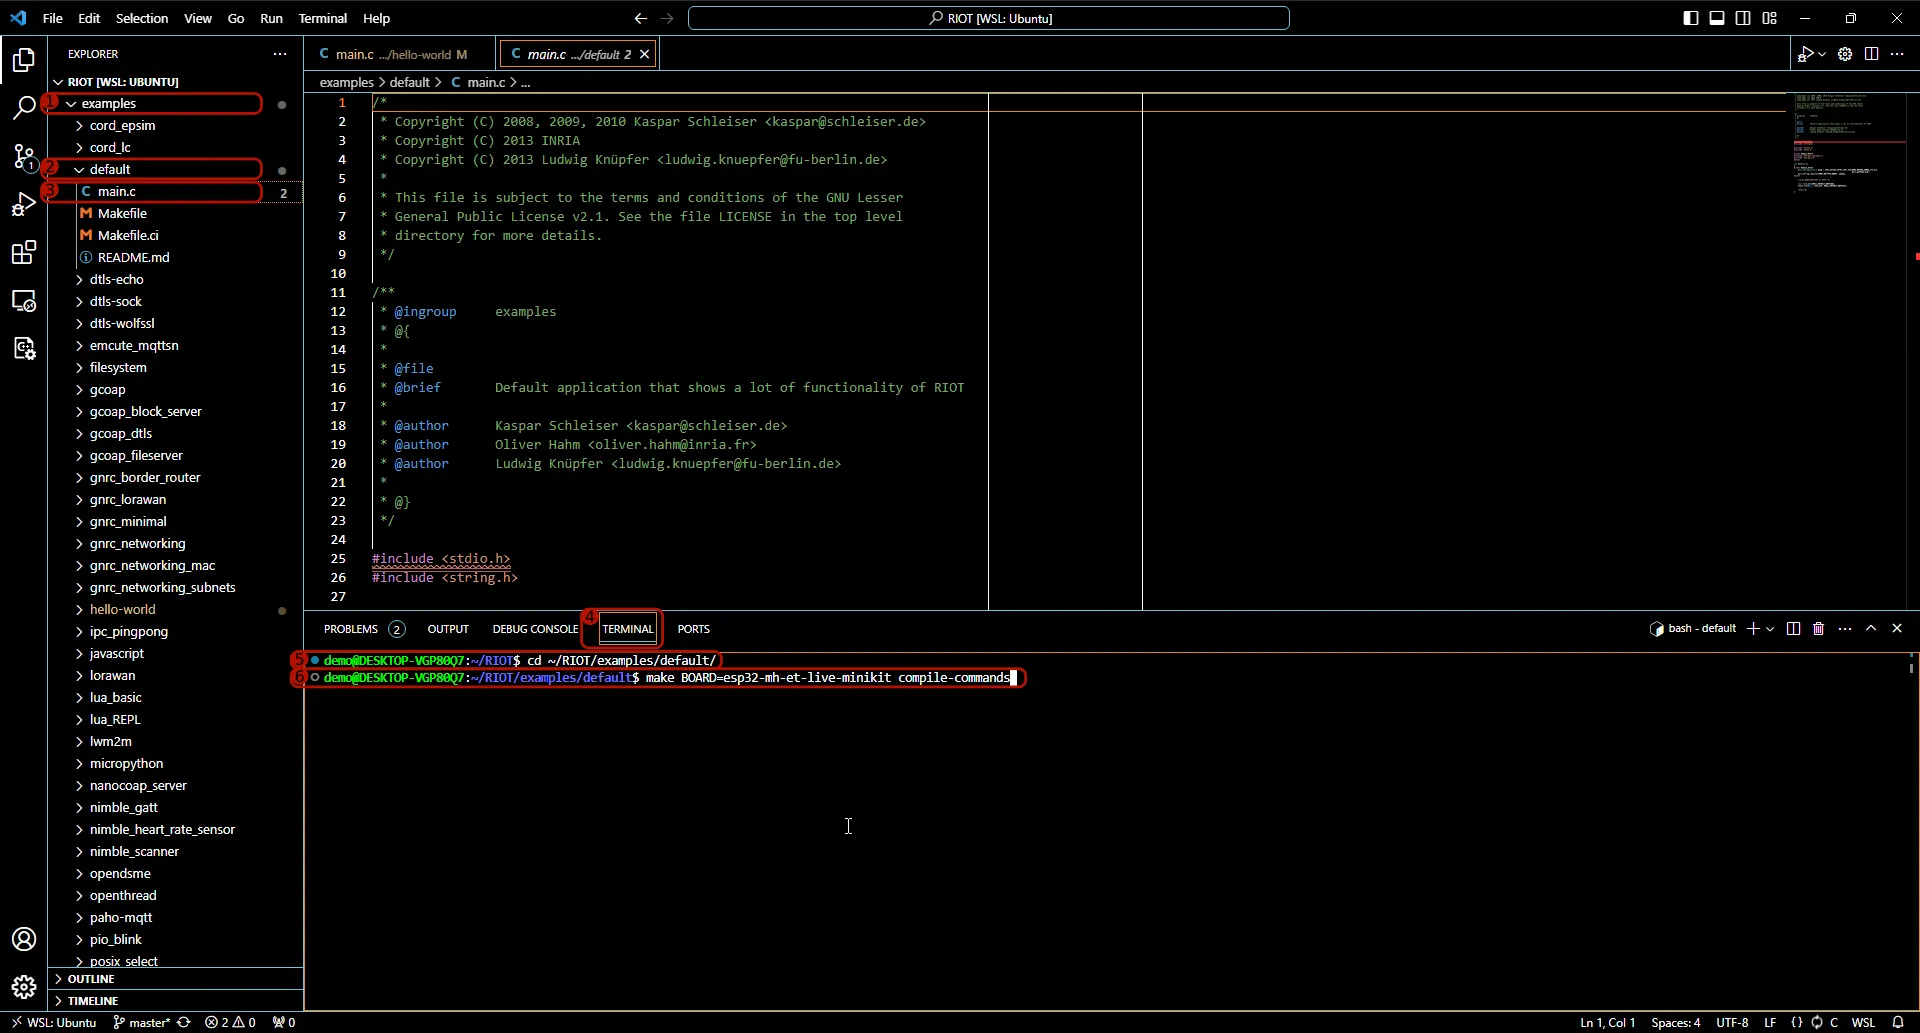
- Open the
examplesfolder - Open the
basicfolder withinexamples - Open the
defaultfolder withinbasic - Open the
main.cfile in thedefaultfolder - Select the “Terminal” tab at the bottom
- Enter
cd ~/RIOT/examples/basic/defaultto enter thedefaultfolder also in the terminal - Run
make BOARD=esp32-mh-et-live-minikit compile-commands- You can replace
esp32-mh-et-live-minikitwith the name of any other supported board
- You can replace
- Now run
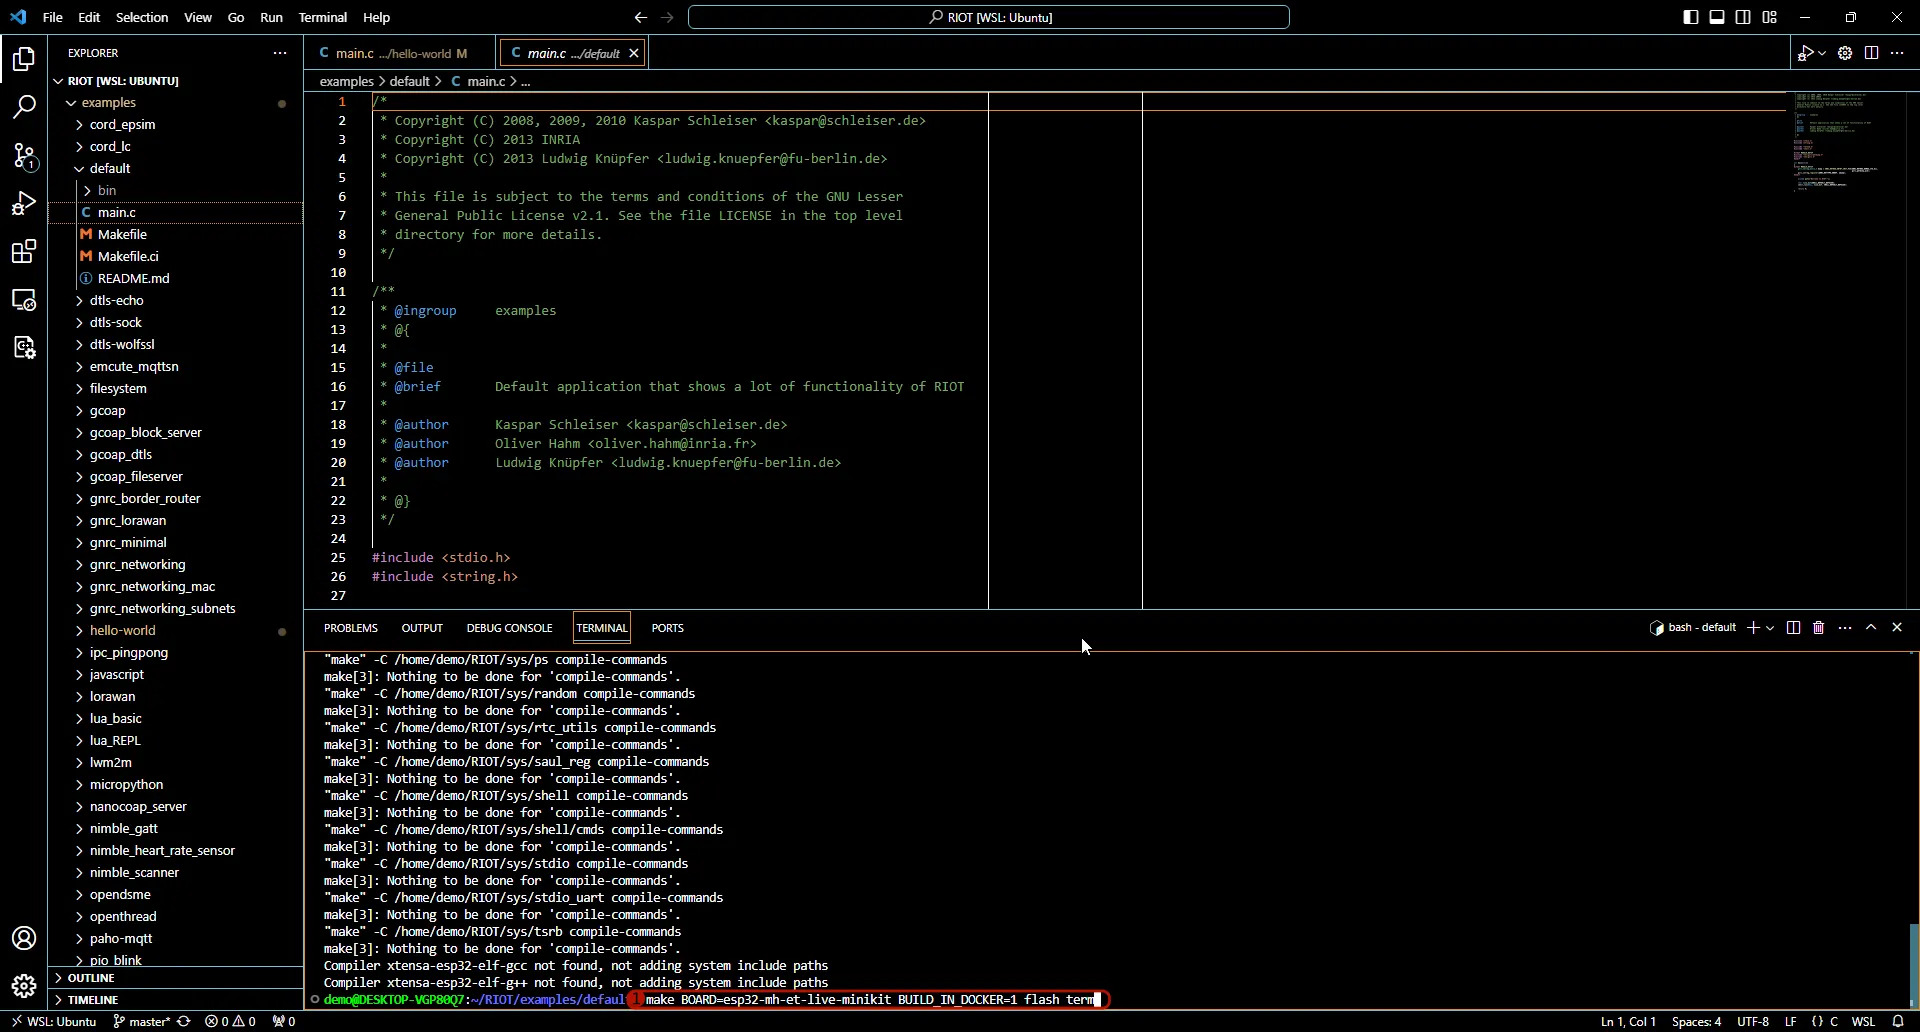
make BOARD=esp32-mh-et-live-minikit BUILD_IN_DOCKER=1 flash term
When compiling with BUILD_IN_DOCKER=1, the toolchains distributed in the
riot/riotbuild docker image will
be used for compilation. This image contains toolchains for all supported RIOT
board and is extensively tested in our CI.
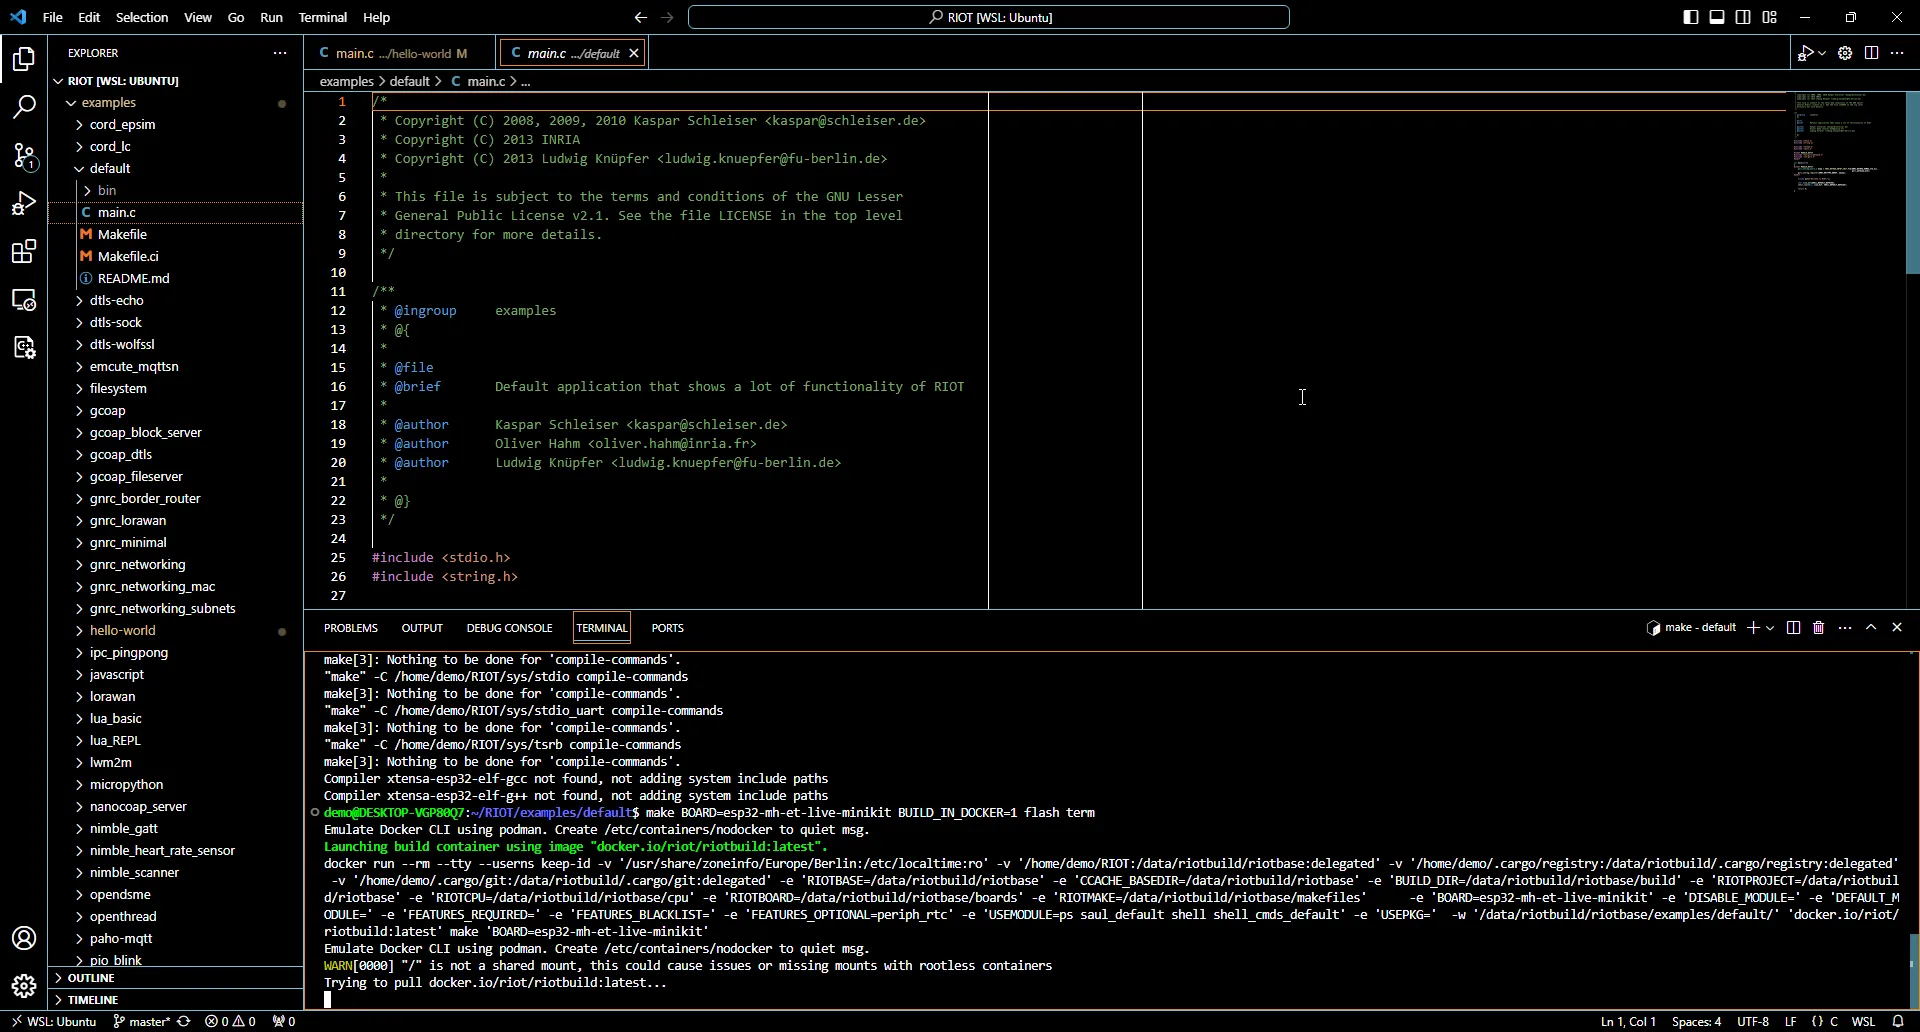
The first time you build with BUILD_IN_DOCKER=1, the image is pulled
automatically.
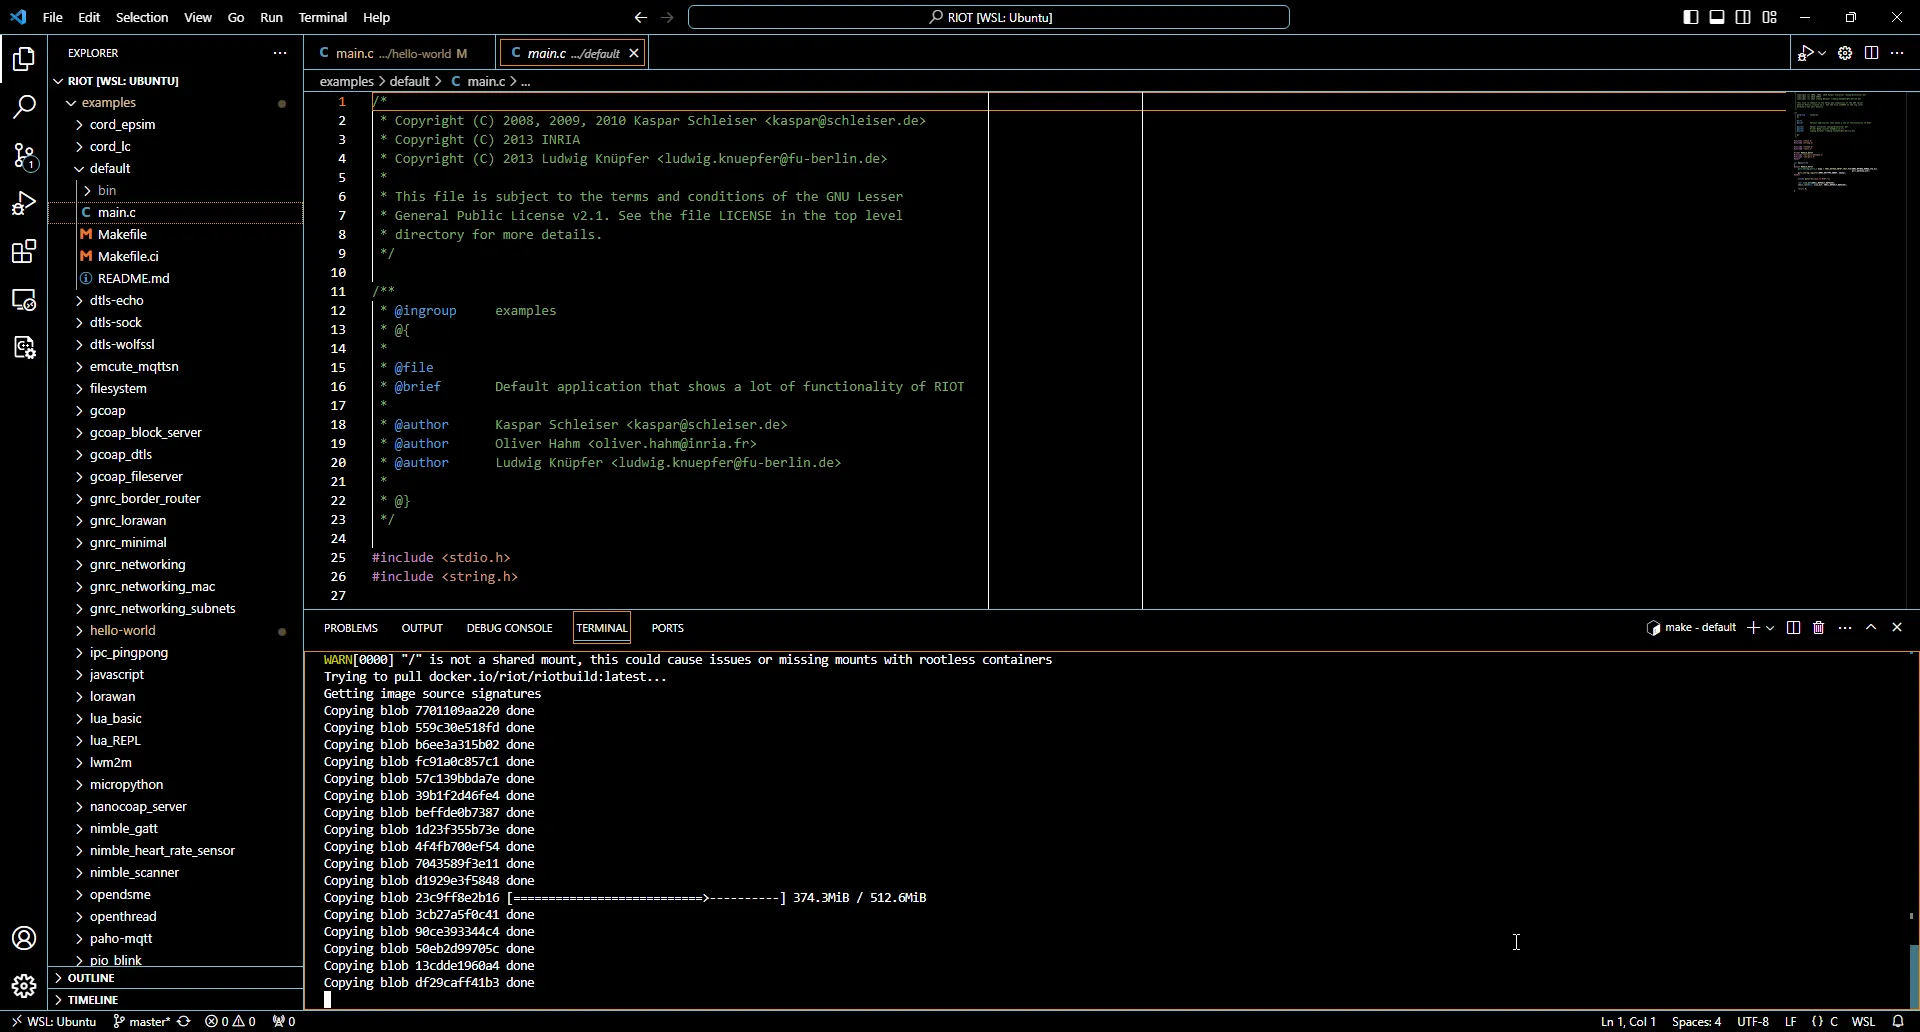
This may take a while …
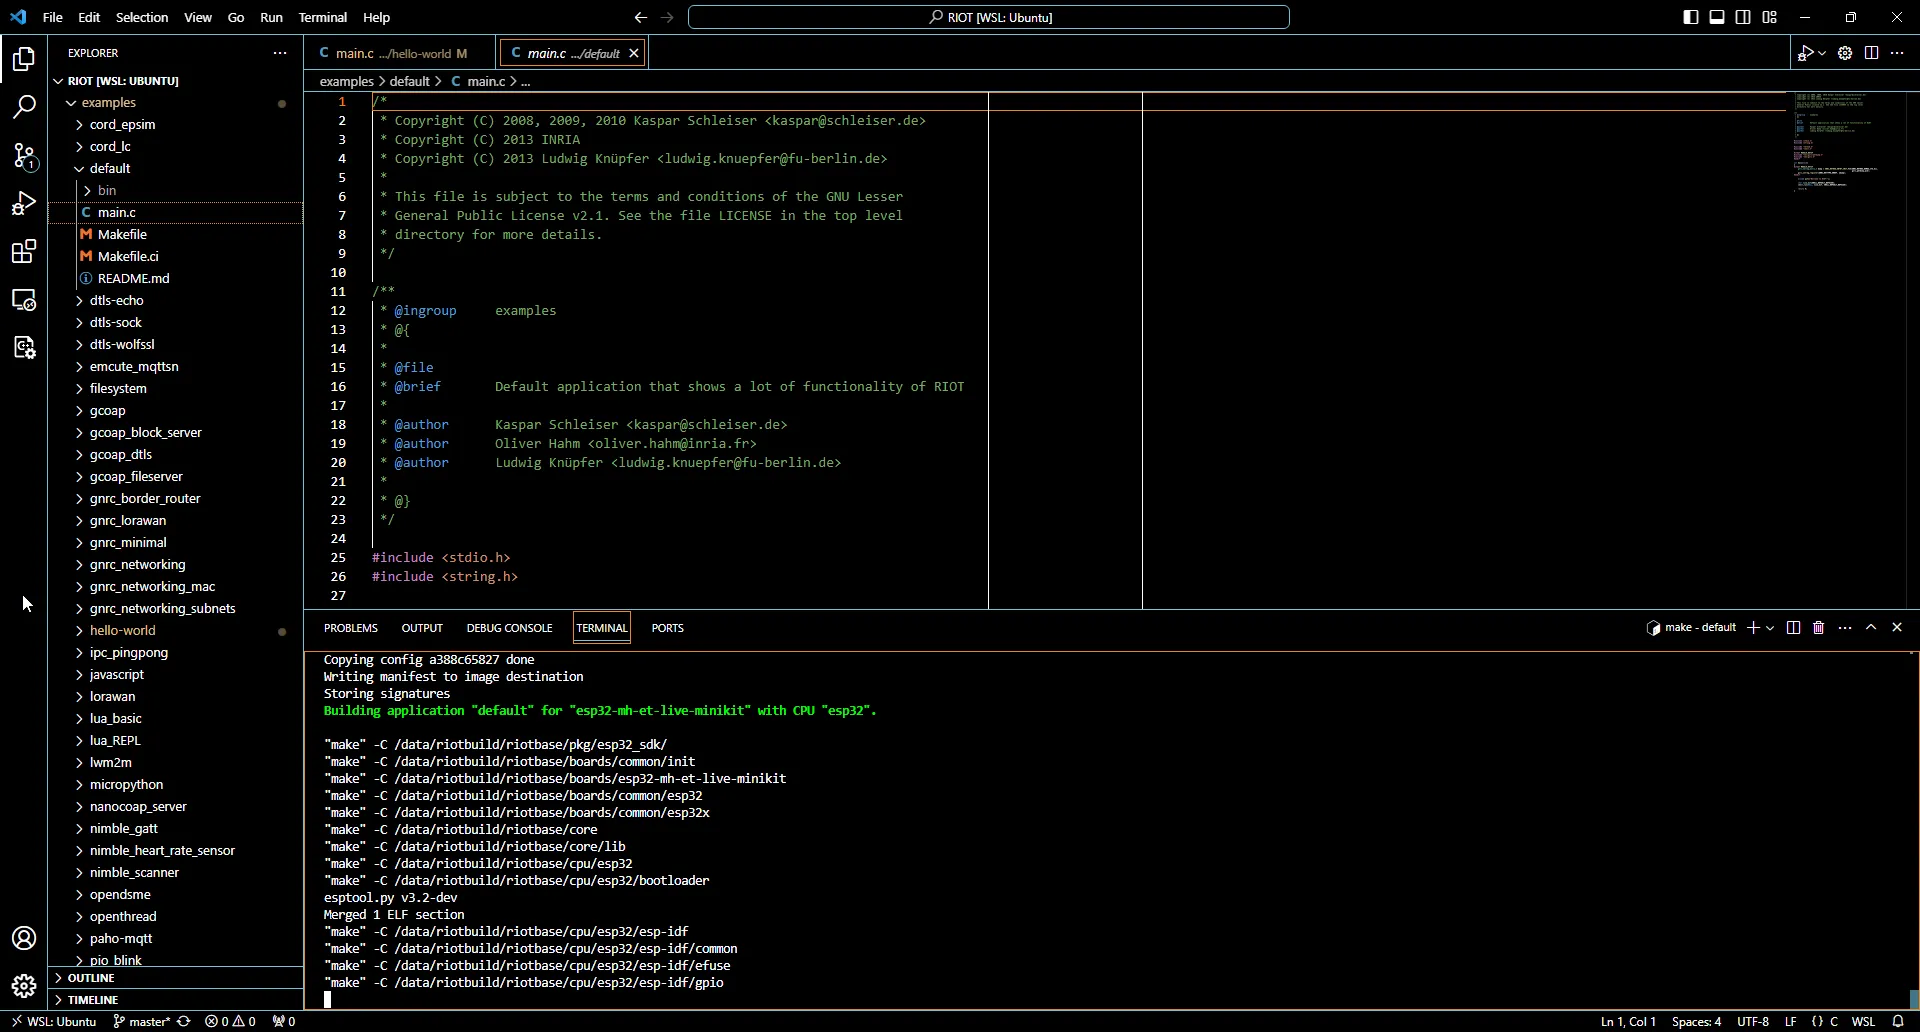
… until eventually the docker image is pulled and the build will start. Subsequent builds will no longer need to download the toolchain and be a lot quicker.
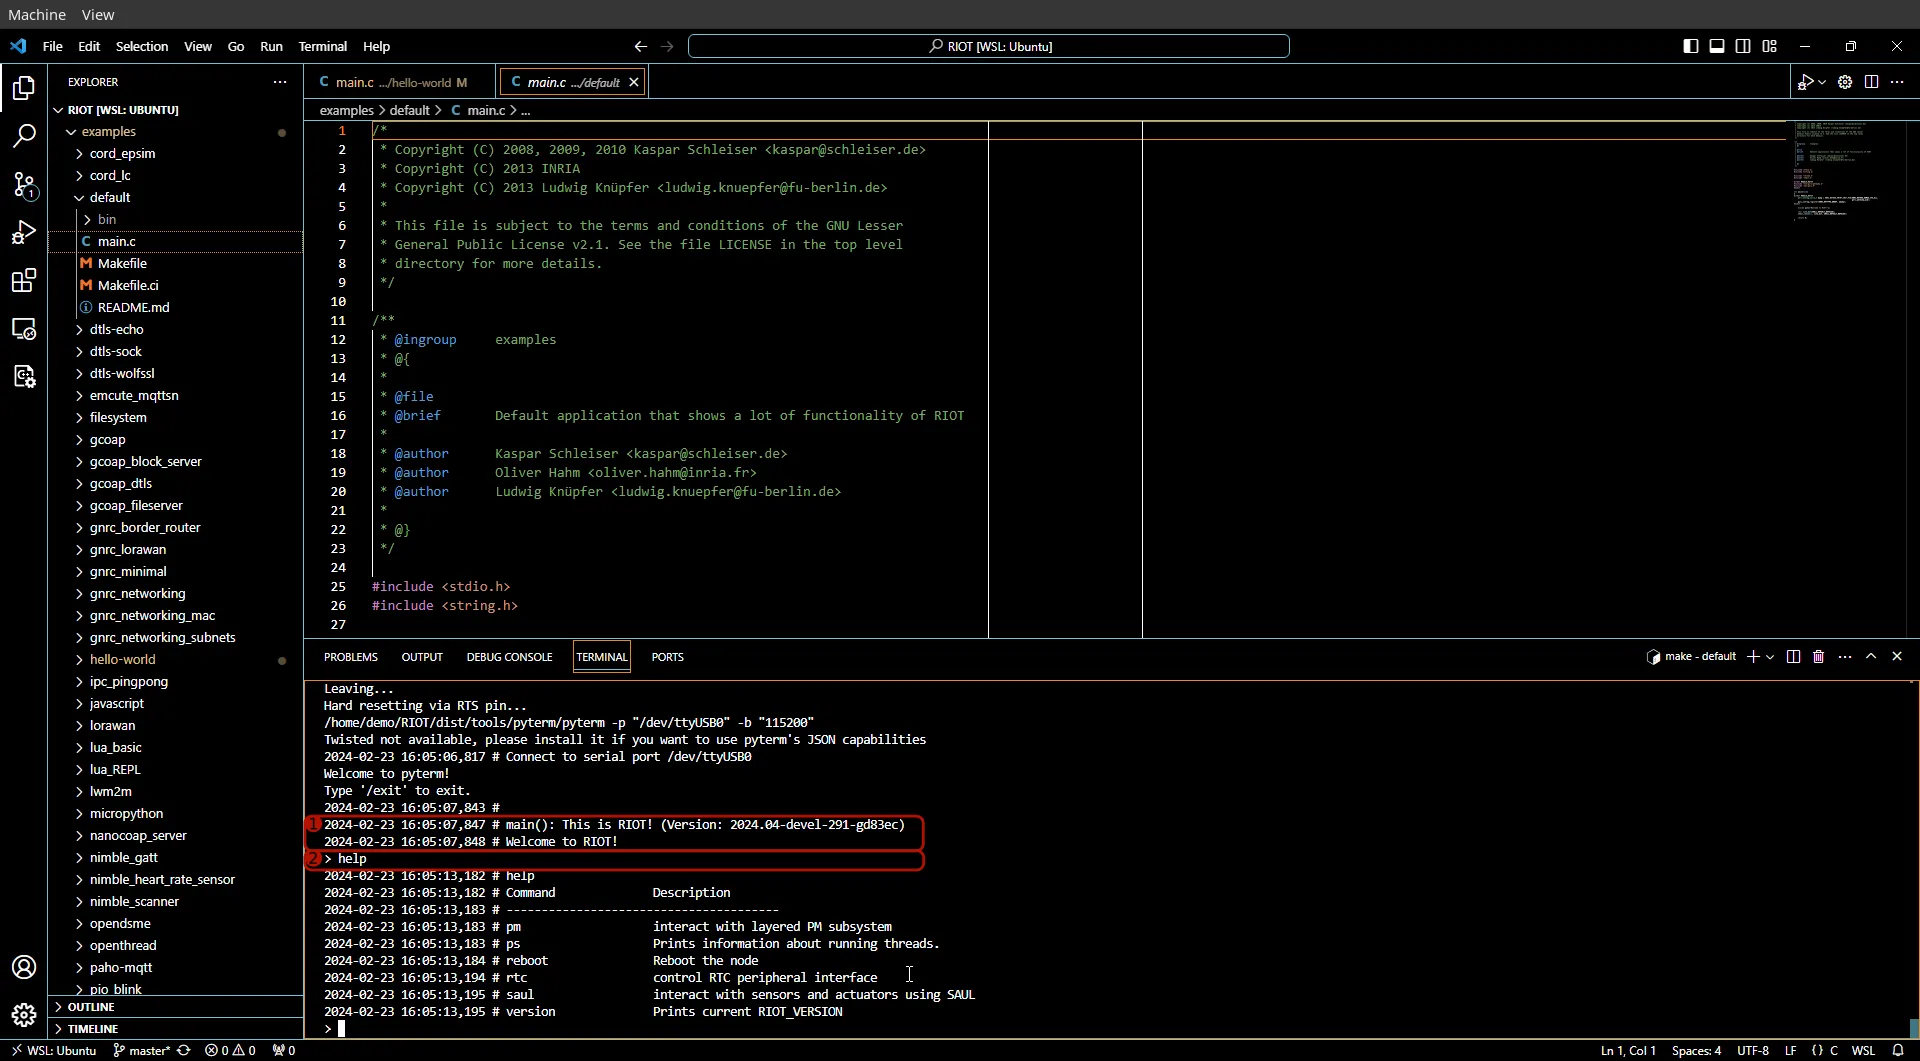
After building and flashing the firmware has succeeded, a shell will open.
- Wait for the boot message to appear.
- The board may boot faster than your PC is able to connect to the serial. If you see nothing after “Welcome to pyterm!” for 5 seconds, try hitting the reset button on the board to boot it again.
- You are now connected to the RIOT shell running on the board. Try running
the
helpcommand to get a list of commands supported by the board. - You can drop out of the RIOT serial by pressing
Ctrl+Cand return to the Linux shell.